Next.js Quick Start
In this tutorial you will add Inngest to a Next.js app to see how easy it can be to build complex workflows.
Inngest makes it easy to build, manage, and execute reliable workflows. Some use cases include scheduling drip marketing campaigns, building payment flows, or chaining LLM interactions.
By the end of this ten-minute tutorial you will:
- Set up and run Inngest on your machine.
- Write your first Inngest function.
- Trigger your function from your app and through Inngest Dev Server.
Let's get started!
Choose Next.js version
Choose your preferred Next.js version for this tutorial:
Before you start: choose a project
In this tutorial you can use any existing Next.js project, or you can create a new one.
Instructions for creating a new Next.js project
Run the following command in your terminal to create a new Next.js project:
npx create-next-app@latest --ts --eslint --tailwind --src-dir --app --import-alias='@/*' inngest-guide
Once you've chosen a project, open it in a code editor.
Next, start your Next.js app in development mode by running:
npm run dev
Now you can add Inngest to your project!
1. Install Inngest
With the Next.js app now running running open a new tab in your terminal. In your project directory's root, run the following command to install Inngest SDK:
npm install inngest
2. Run the Inngest Dev Server
Next, start the Inngest Dev Server, which is a fast, in-memory version of Inngest where you can quickly send and view events events and function runs:
npx inngest-cli@latest dev
You should see a similar output to the following:
$ npx inngest-cli@latest dev

12:33PM INF executor > service starting
12:33PM INF runner > starting event stream backend=redis
12:33PM INF executor > subscribing to function queue
12:33PM INF runner > service starting
12:33PM INF runner > subscribing to events topic=events
12:33PM INF no shard finder;  skipping shard claiming
12:33PM INF devserver > service starting
12:33PM INF devserver > autodiscovering locally hosted SDKs
12:33PM INF api > starting server addr=0.0.0.0:8288


        Inngest dev server online at 0.0.0.0:8288, visible at the following URLs:

         - http://127.0.0.1:8288 (http://localhost:8288)

        Scanning for available serve handlers.
        To disable scanning run `inngest dev` with flags: --no-discovery -u <your-serve-url>
In your browser open http://localhost:8288 to see the development UI where later you will test the functions you write:
3. Create an Inngest client
Inngest invokes your functions securely via an API endpoint at /api/inngest. To enable that, you will create an Inngest client in your Next.js project, which you will use to send events and create functions.
Make a new directory next to your app directory (for example, src/inngest) where you'll define your Inngest functions and the client.
In the /src/inngest directory create an Inngest client:
src/inngest/client.ts
import { Inngest } from "inngest";

// Create a client to send and receive events
export const inngest = new Inngest({ id: "my-app" });
Next, you will set up a route handler for the /api/inngest route. To do so, create a file inside your app directory (for example, at src/app/api/inngest/route.ts) with the following code:
src/app/api/inngest/route.ts
import { serve } from "inngest/next";
import { inngest } from "../../../inngest/client";

// Create an API that serves zero functions
export const { GET, POST, PUT } = serve({
  client: inngest,
  functions: [
    /* your functions will be passed here later! */
  ],
});
4. Write your first Inngest function
In this step, you will write your first reliable serverless function. This function will be triggered whenever a specific event occurs (in our case, it will be test/hello.world). Then, it will sleep for a second and return a "Hello, World!".
Define the function
To define the function, use the createFunction method on the Inngest client.
Learn more: What is createFunction method?
The createFunction method takes three objects as arguments:
- Configuration: A unique
idis required and it is the default name that will be displayed on the Inngest dashboard to refer to your function. You can also specify additional options such asconcurrency,rateLimit,retries, orbatchEvents, and others. - Trigger:
eventis the name of the event that triggers your function. Alternatively, you can usecronto specify a schedule to trigger this function. Learn more about triggers here. - Handler: The function that is called when the
eventis received. Theeventpayload is passed as an argument. Arguments includestepto define durable steps within your handler and additional arguments include logging helpers and other data.
Inside your src/inngest directory create a new file called functions.ts where you will define Inngest functions. Add the following code:
src/inngest/functions.ts
import { inngest } from "./client";

export const helloWorld = inngest.createFunction(
  { id: "hello-world" },
  { event: "test/hello.world" },
  async ({ event, step }) => {
    await step.sleep("wait-a-moment", "1s");
    return { message: `Hello ${event.data.email}!` };
  },
);
Add the function to serve()
Next, import your Inngest function in the routes handler (src/app/api/inngest/route.ts) and add it to the serve handler so Inngest can invoke it via HTTP:
src/app/api/inngest/route.ts
import { serve } from "inngest/next";
import { inngest } from "../../../inngest/client";
import { helloWorld } from "../../../inngest/functions";

export const { GET, POST, PUT } = serve({
  client: inngest,
  functions: [
    helloWorld, // <-- This is where you'll always add all your functions
  ],
});
👉 Note that you can import serve() for other frameworks and the rest of the code, in fact, remains the same — only the import statement changes (instead of inngest/next, it would be inngest/astro, inngest/remix, and so on).
Now, it's time to run your function!
5. Trigger your function from the Inngest Dev Server UI
Inngest is powered by events.You will trigger your function in two ways: first, by invoking it directly from the Inngest Dev Server UI, and then by sending events from code.
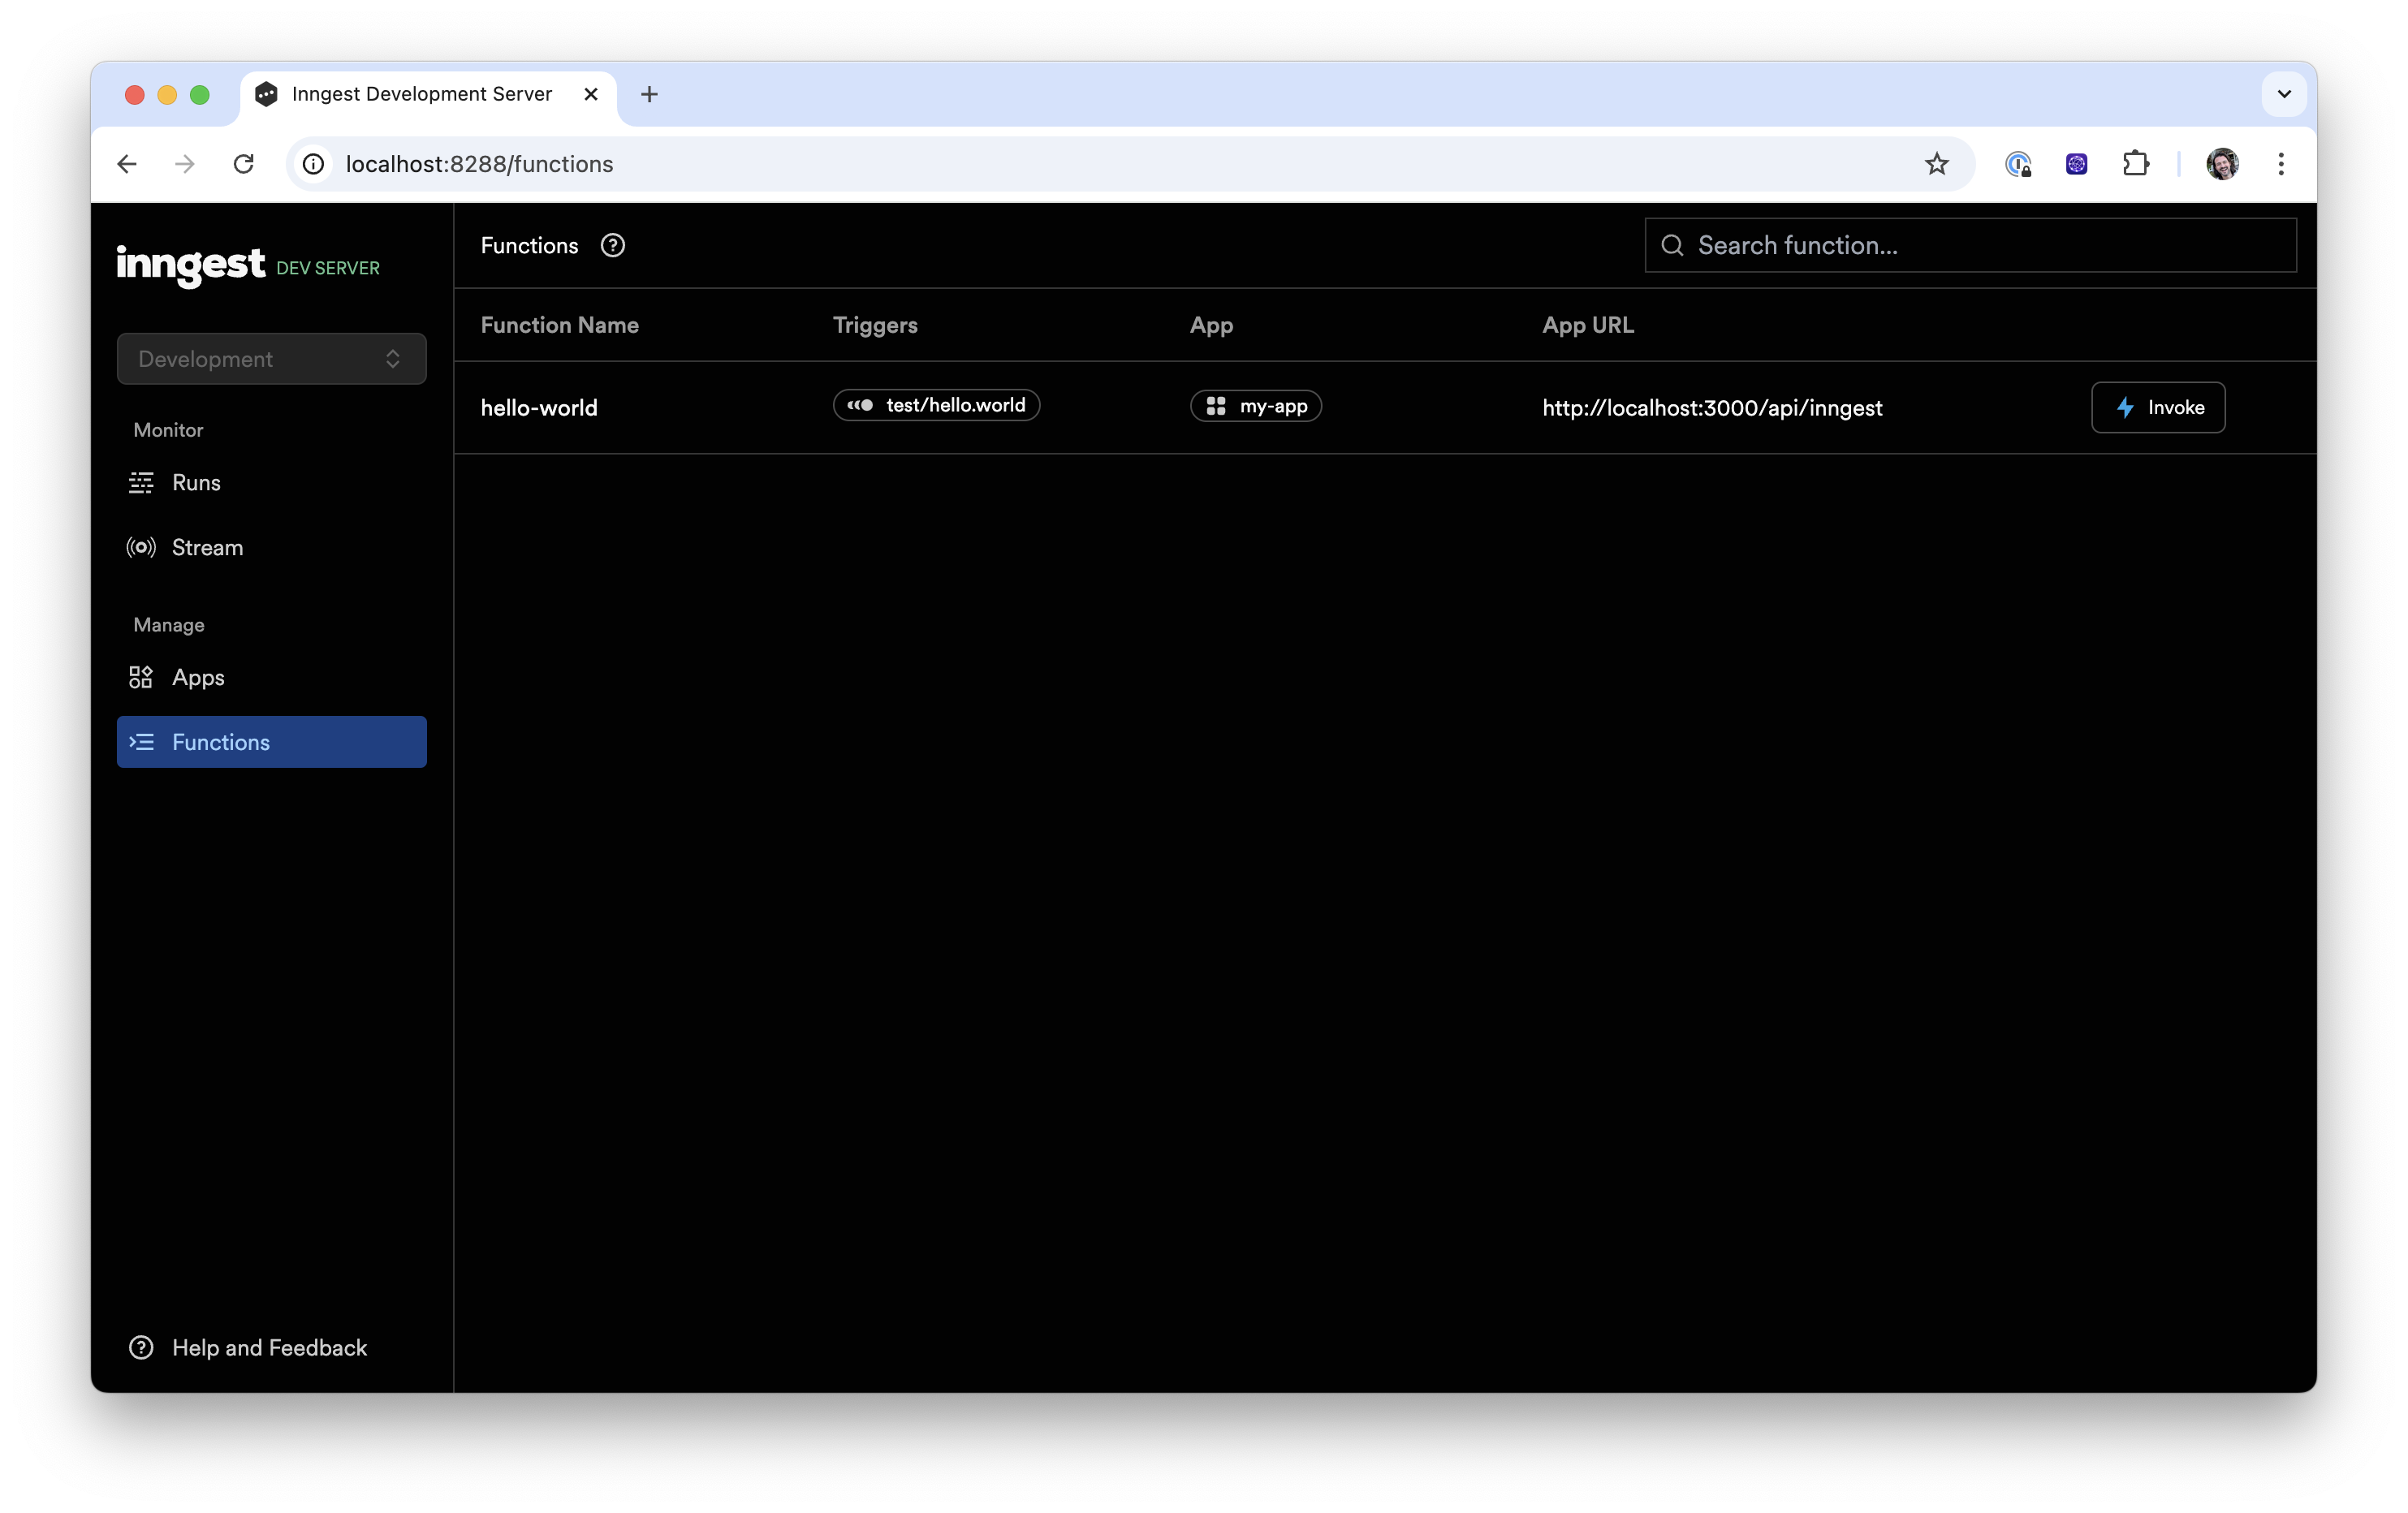
With your Next.js app and Inngest Dev Server running, open the Inngest Dev Server UI and select the "Functions" tab http://localhost:8288/functions. You should see your function. (Note: if you don't see any function, select the "Apps" tab to troubleshoot)
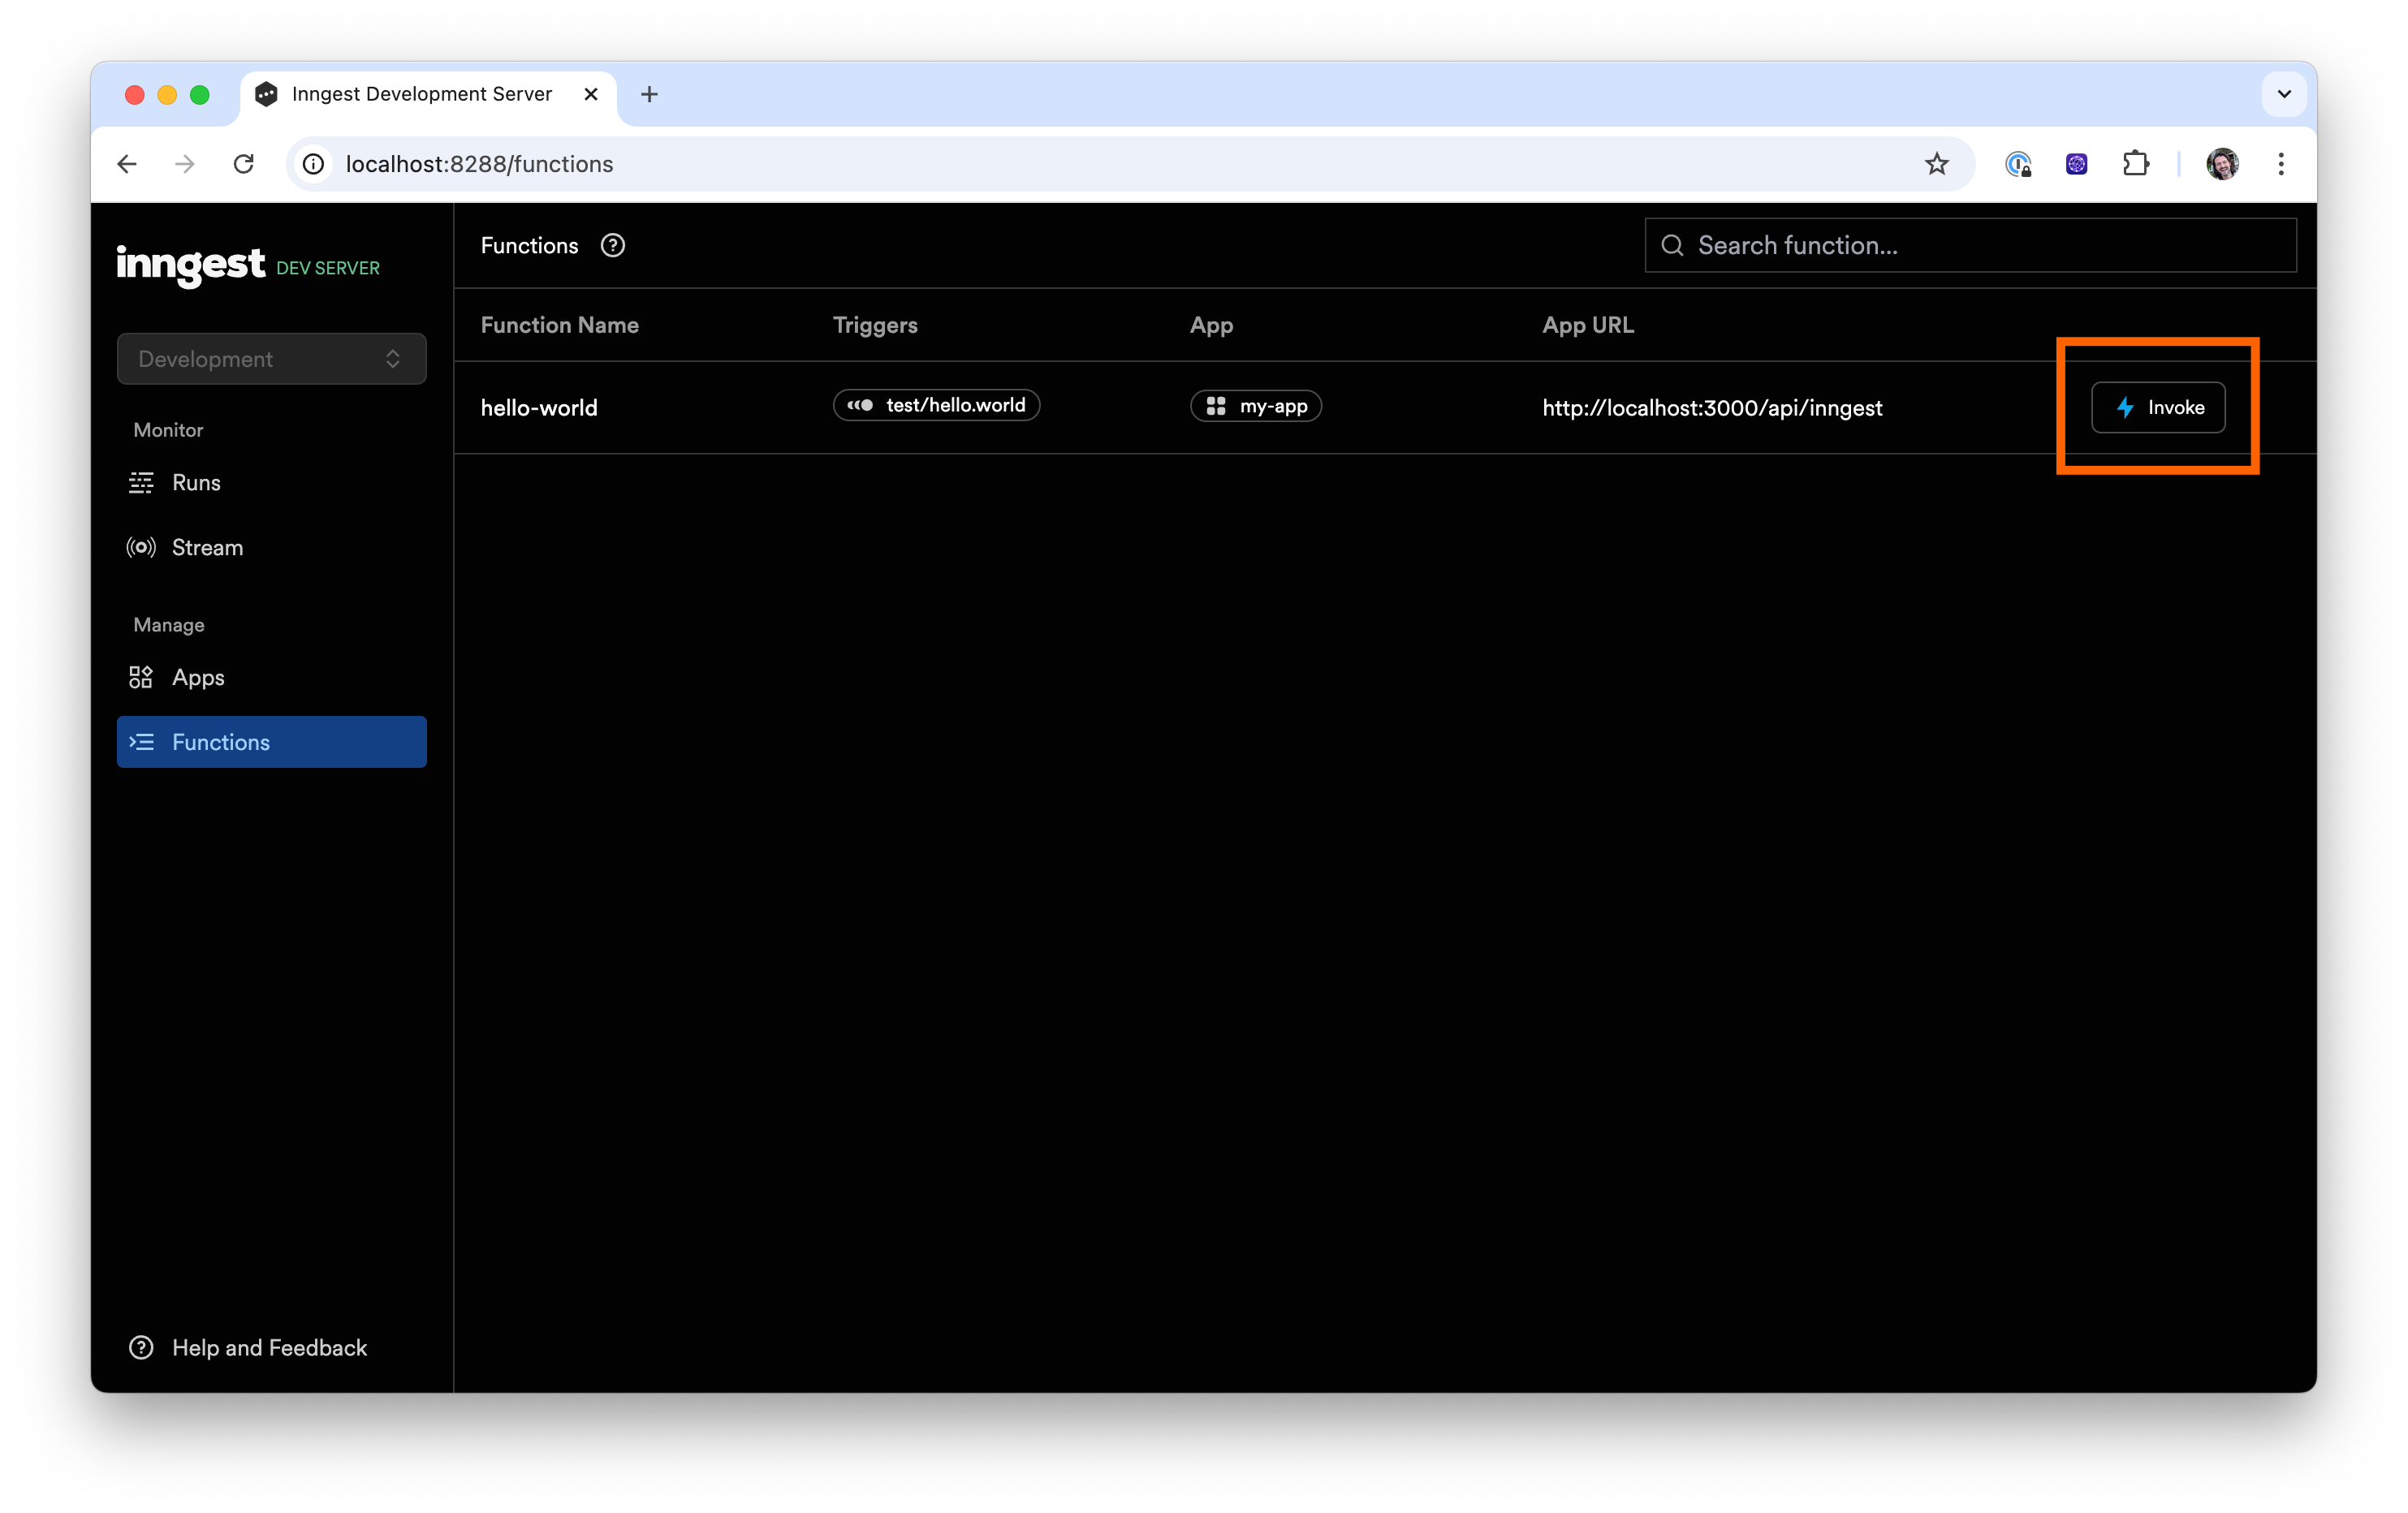
To trigger your function, use the "Invoke" button for the associated function:
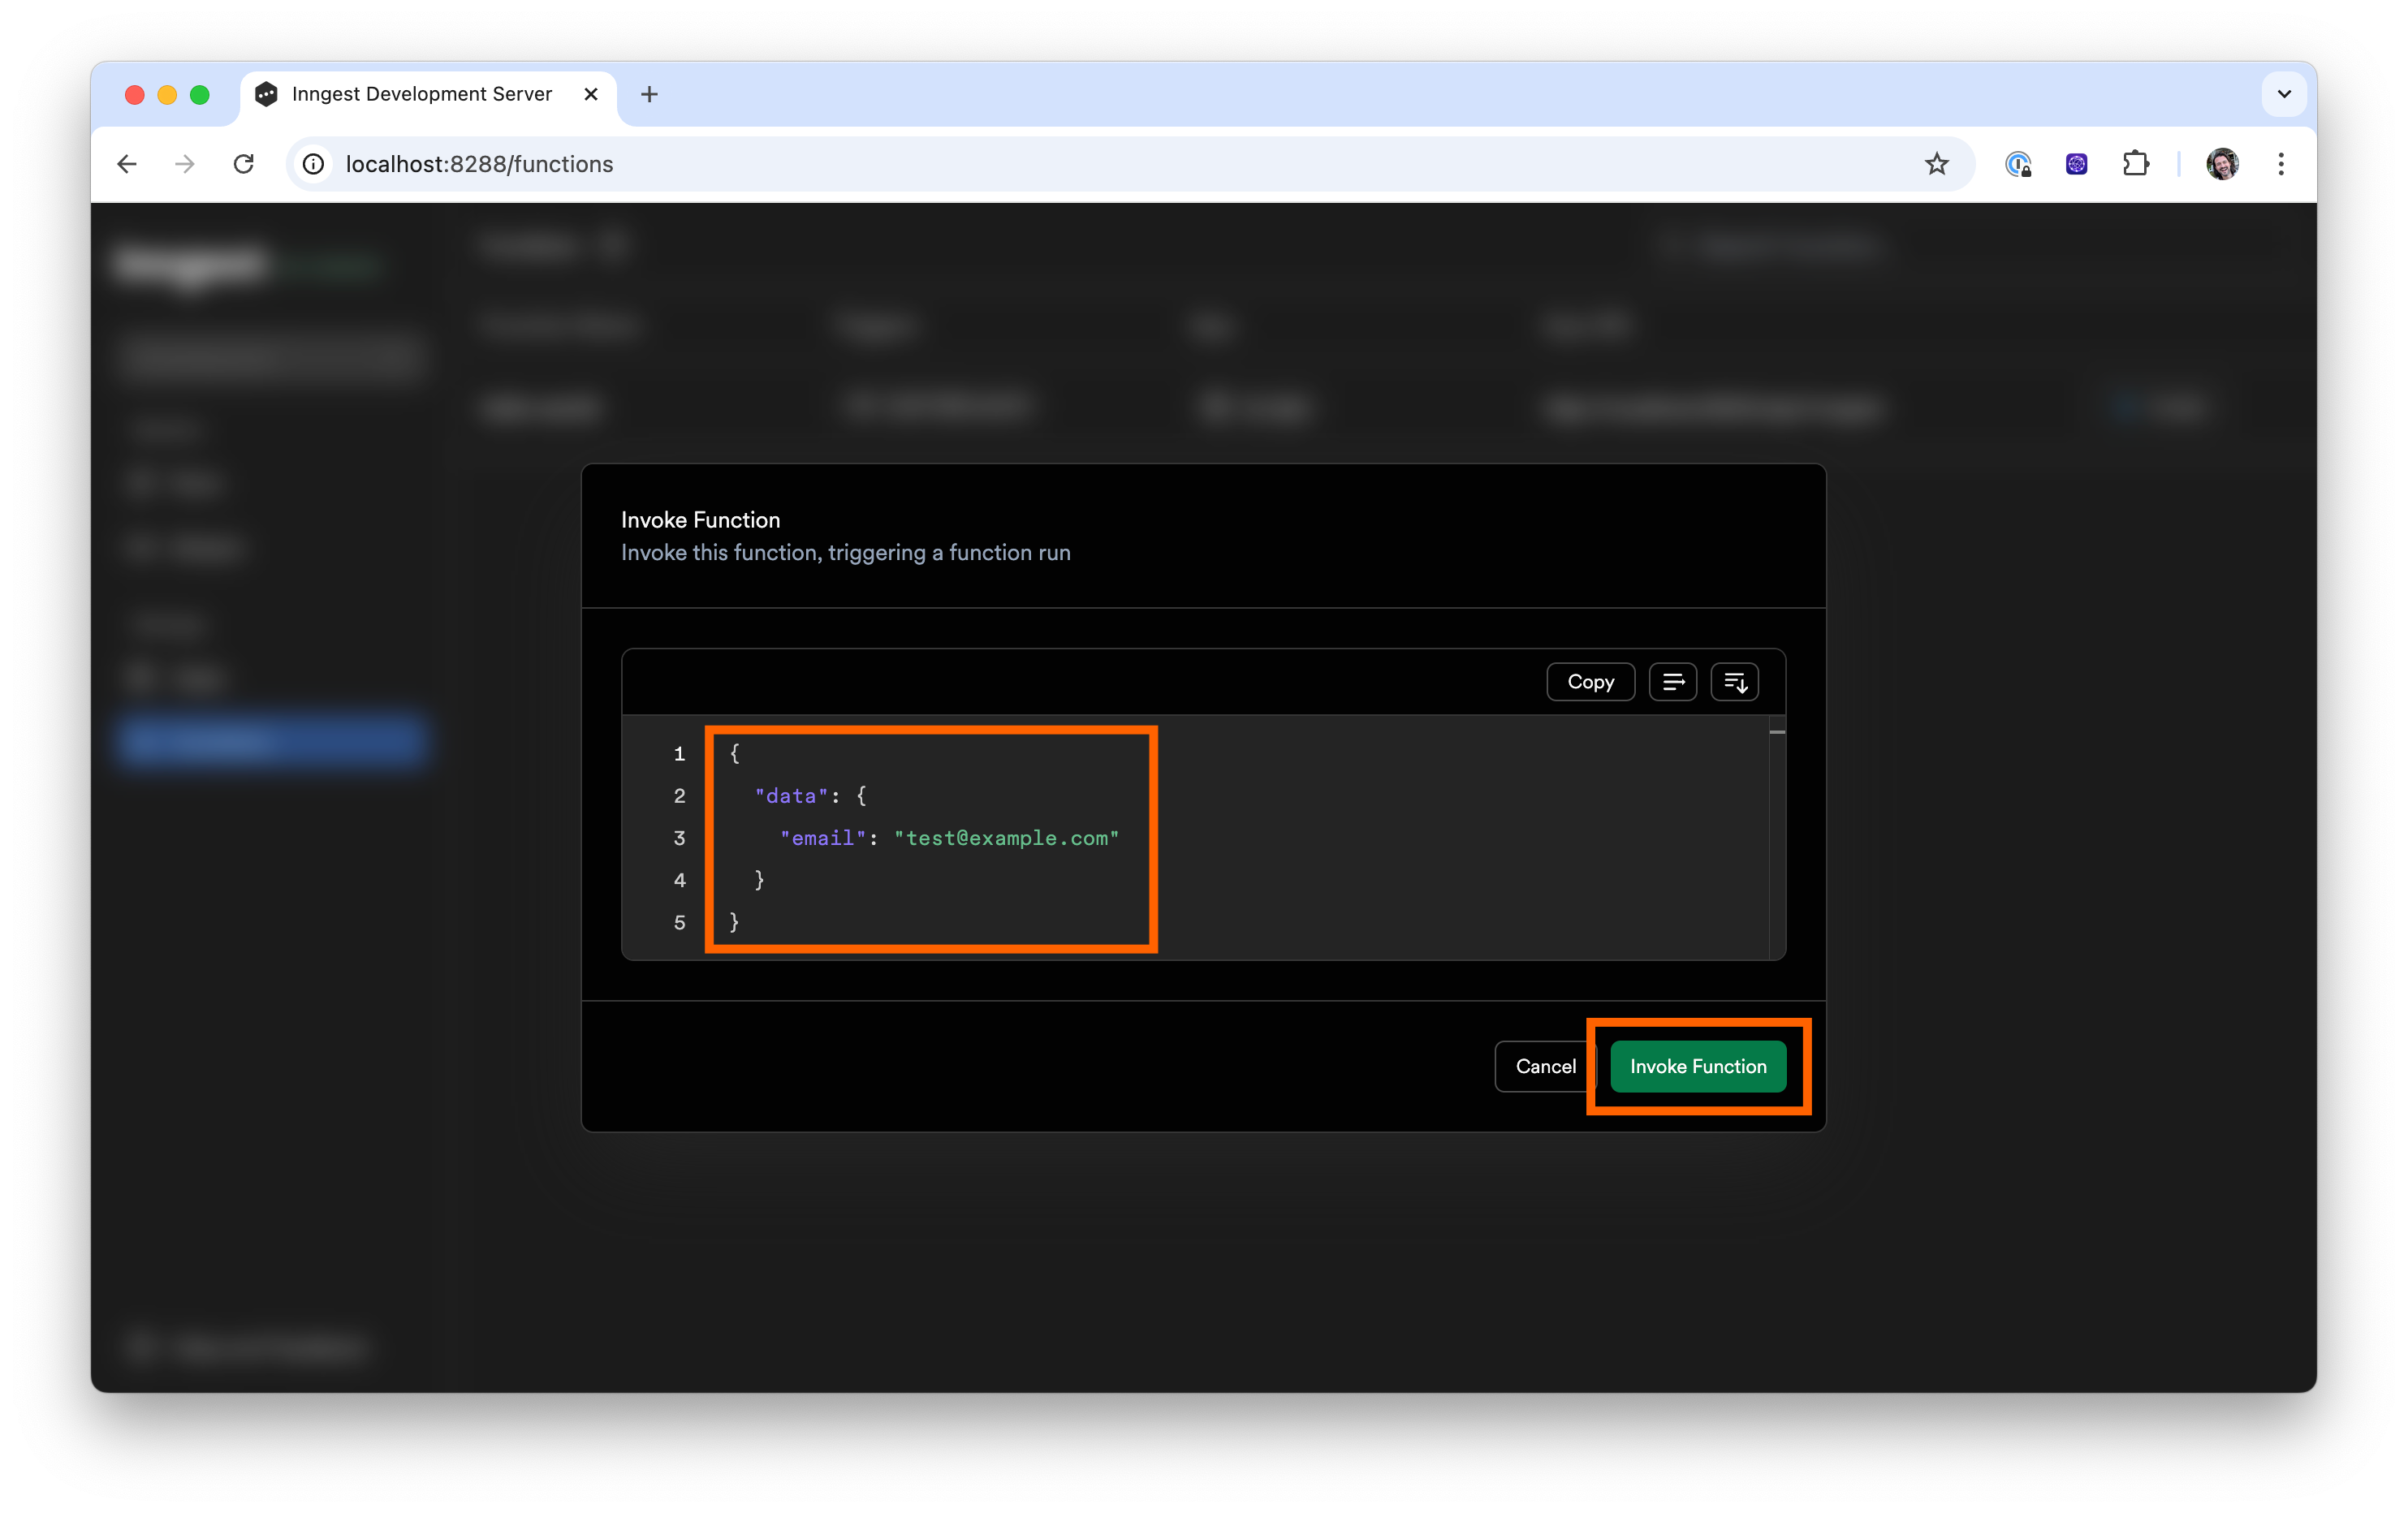
In the pop up editor, add your event payload data like the example below. This can be any JSON and you can use this data within your function's handler. Next, press the "Invoke Function" button:
{
  "data": {
    "email": "test@example.com"
  }
}
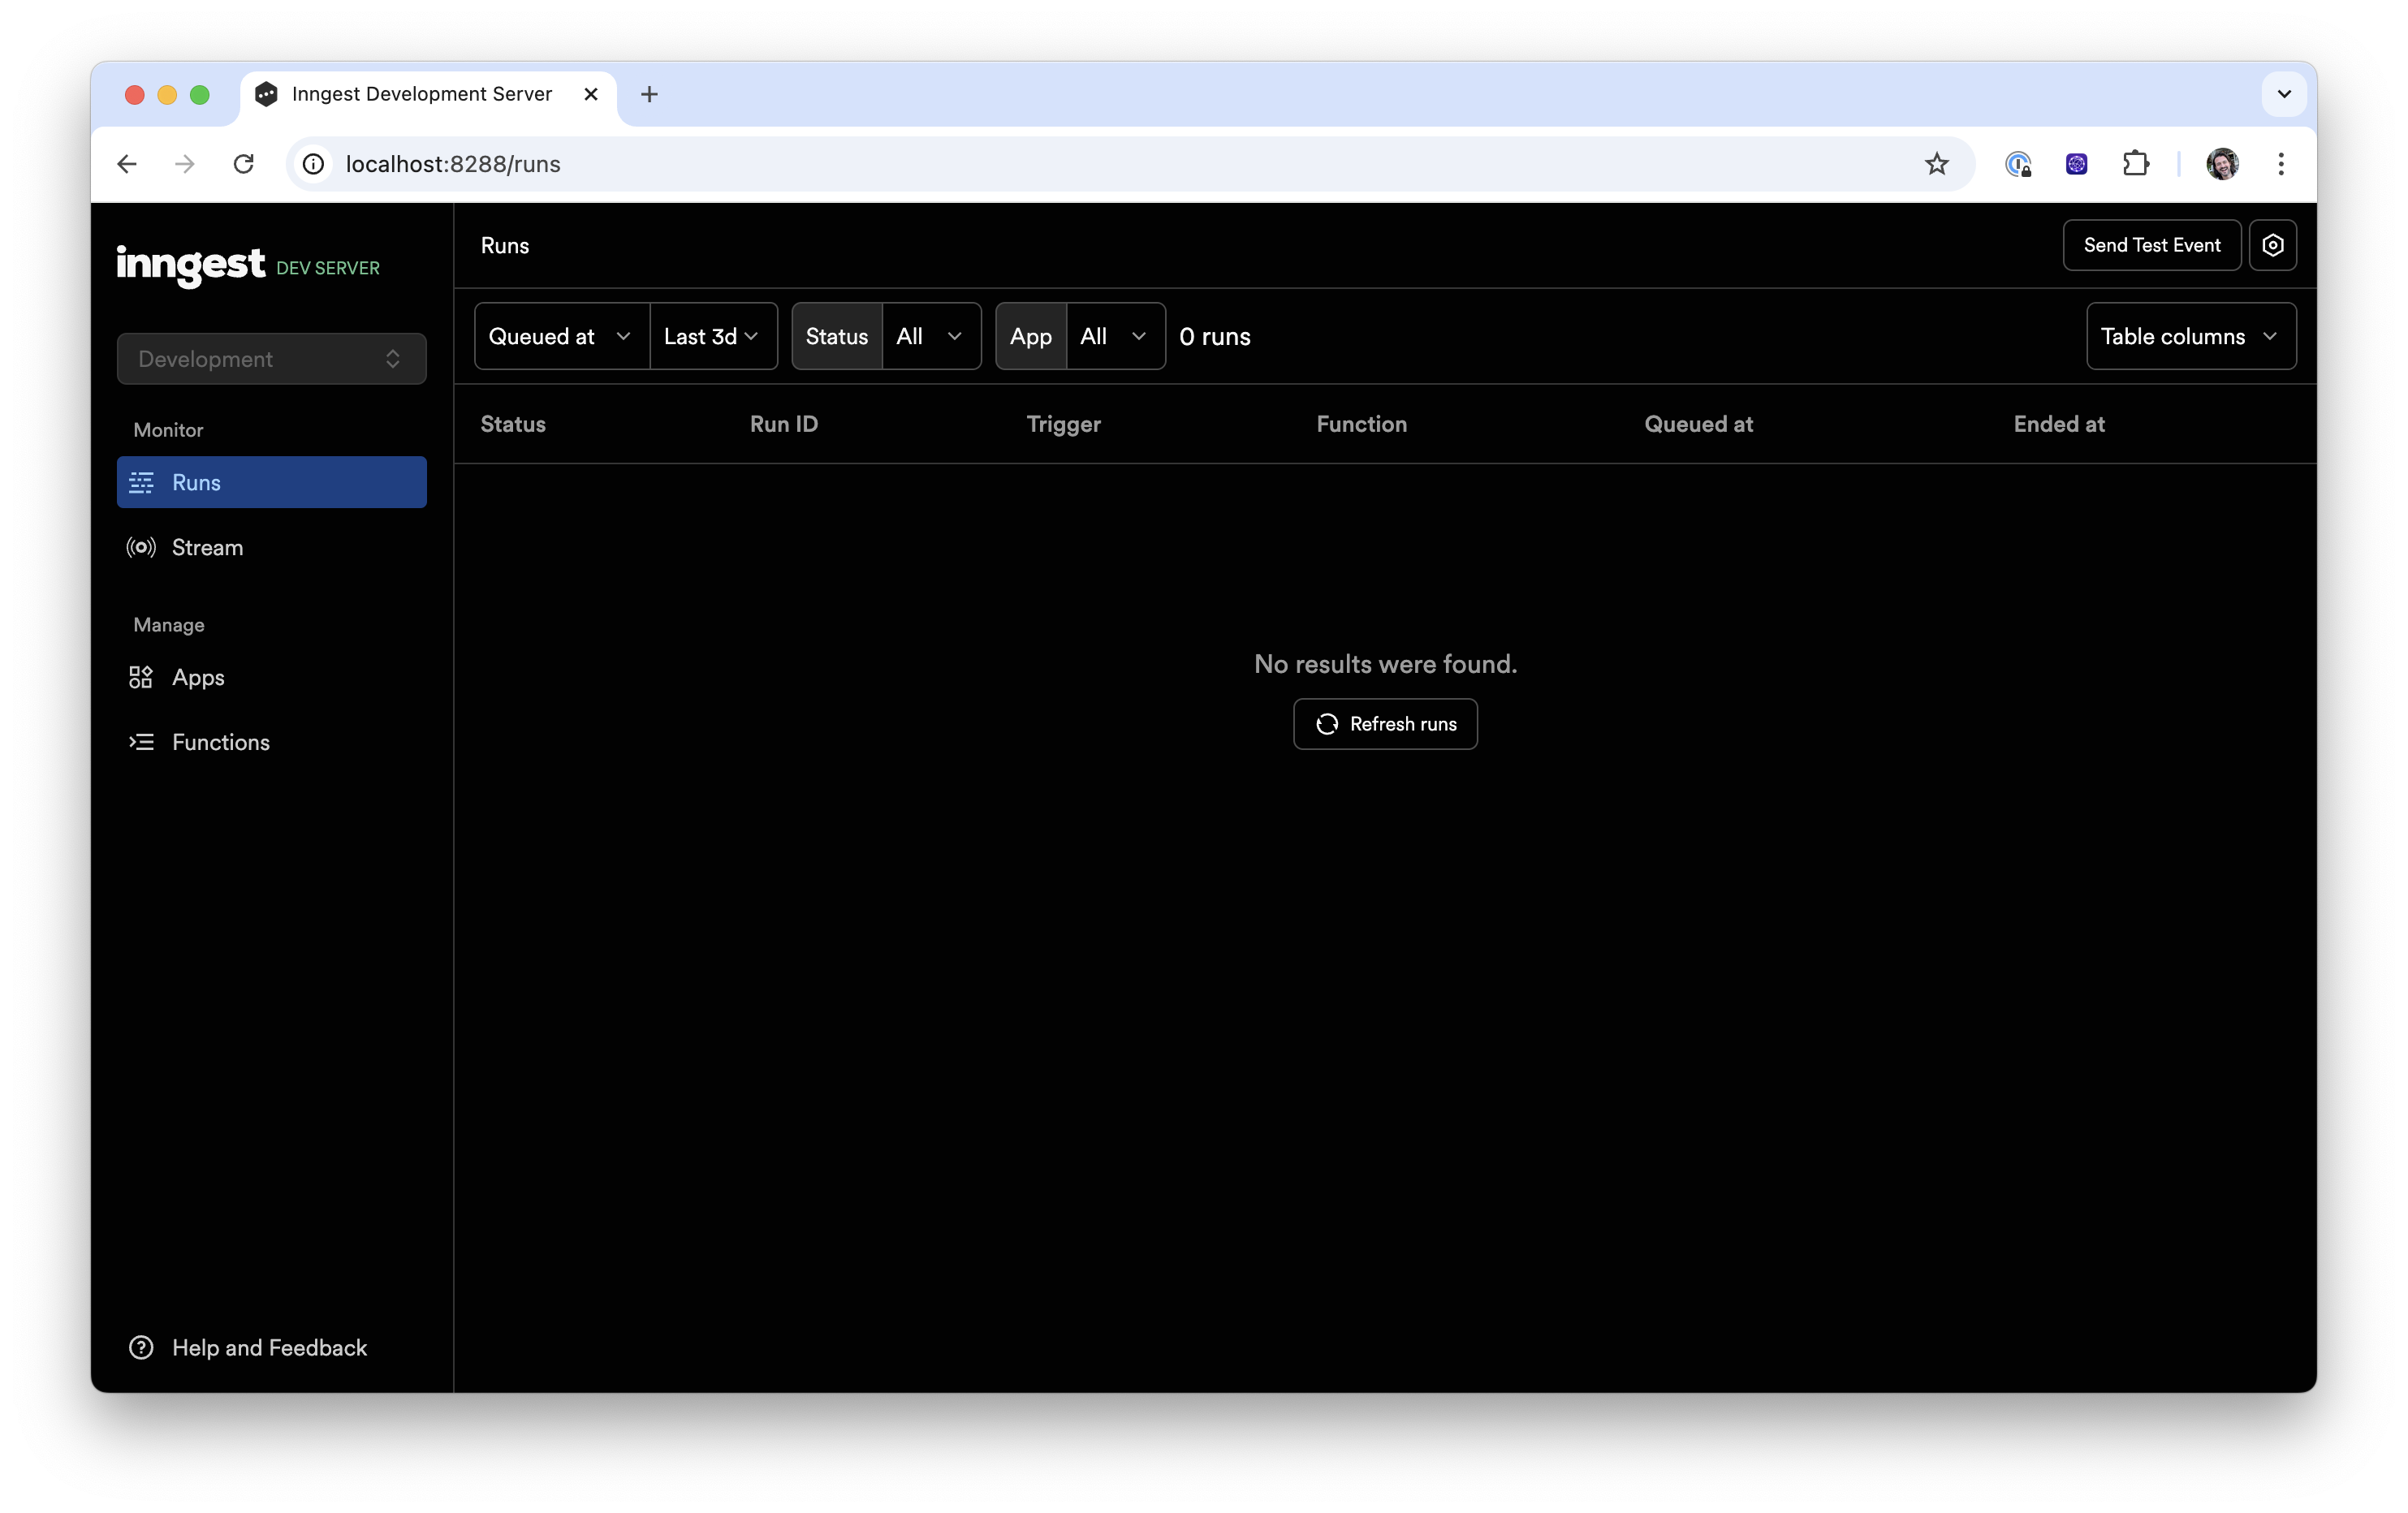
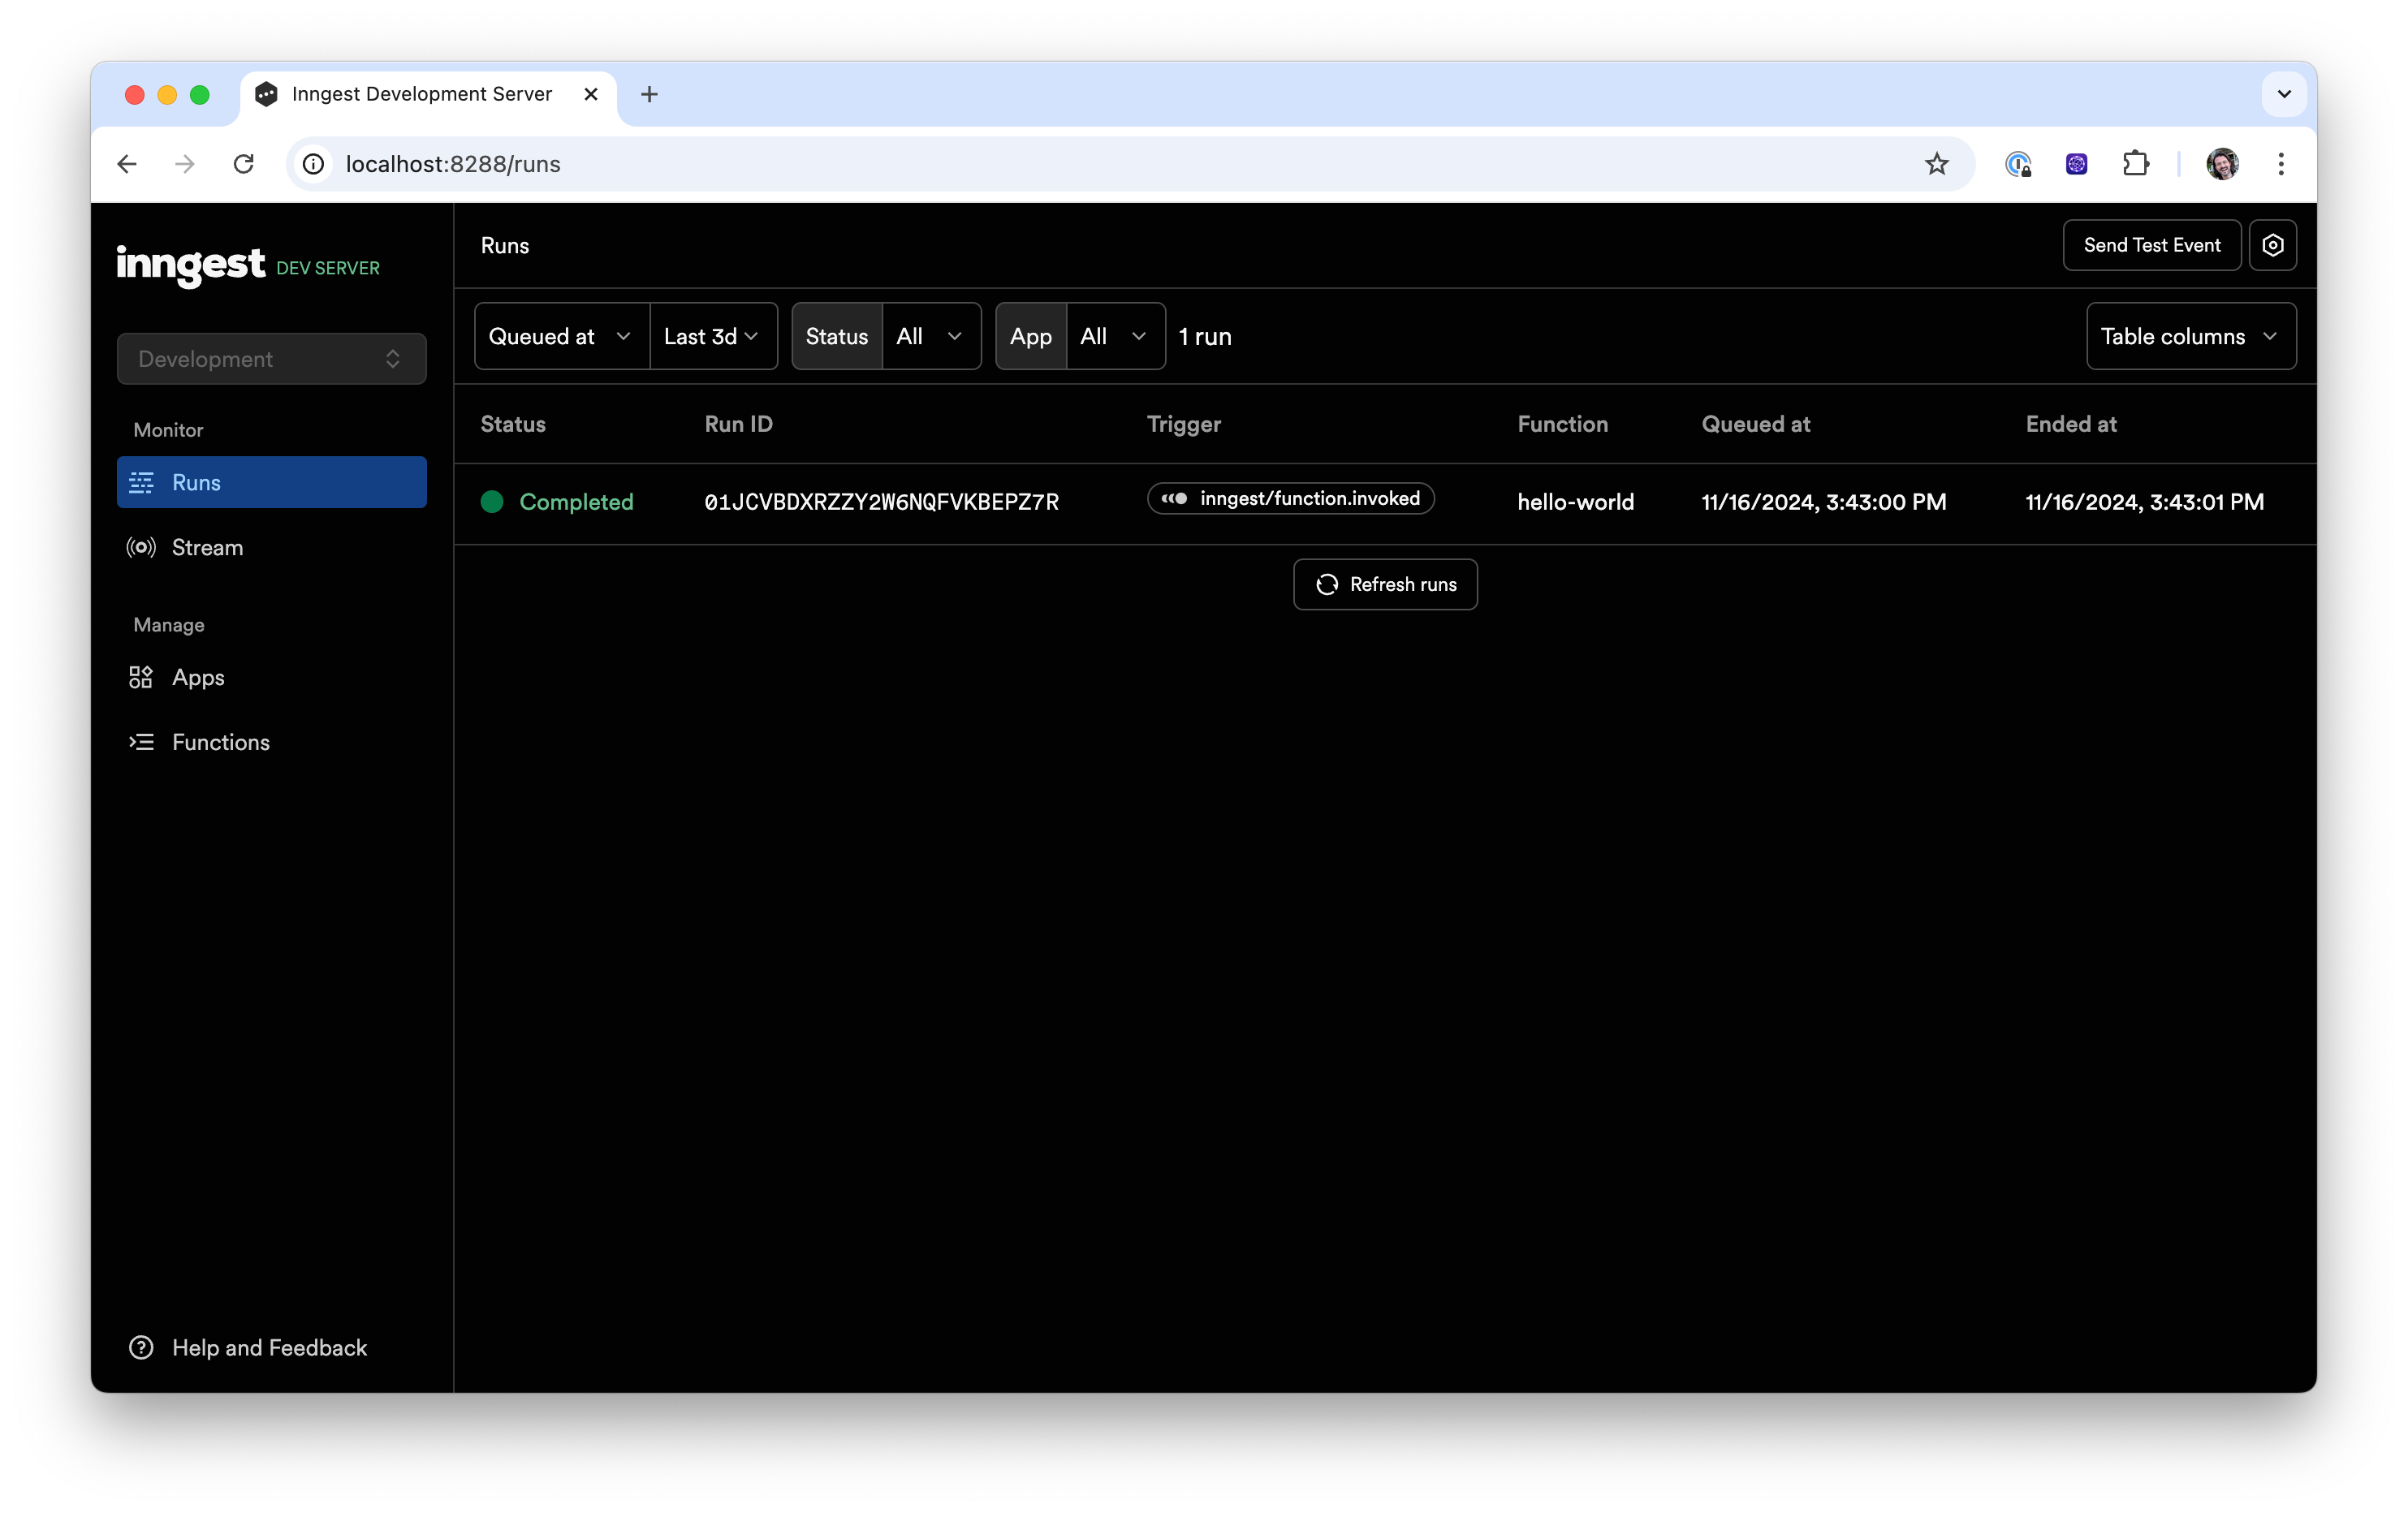
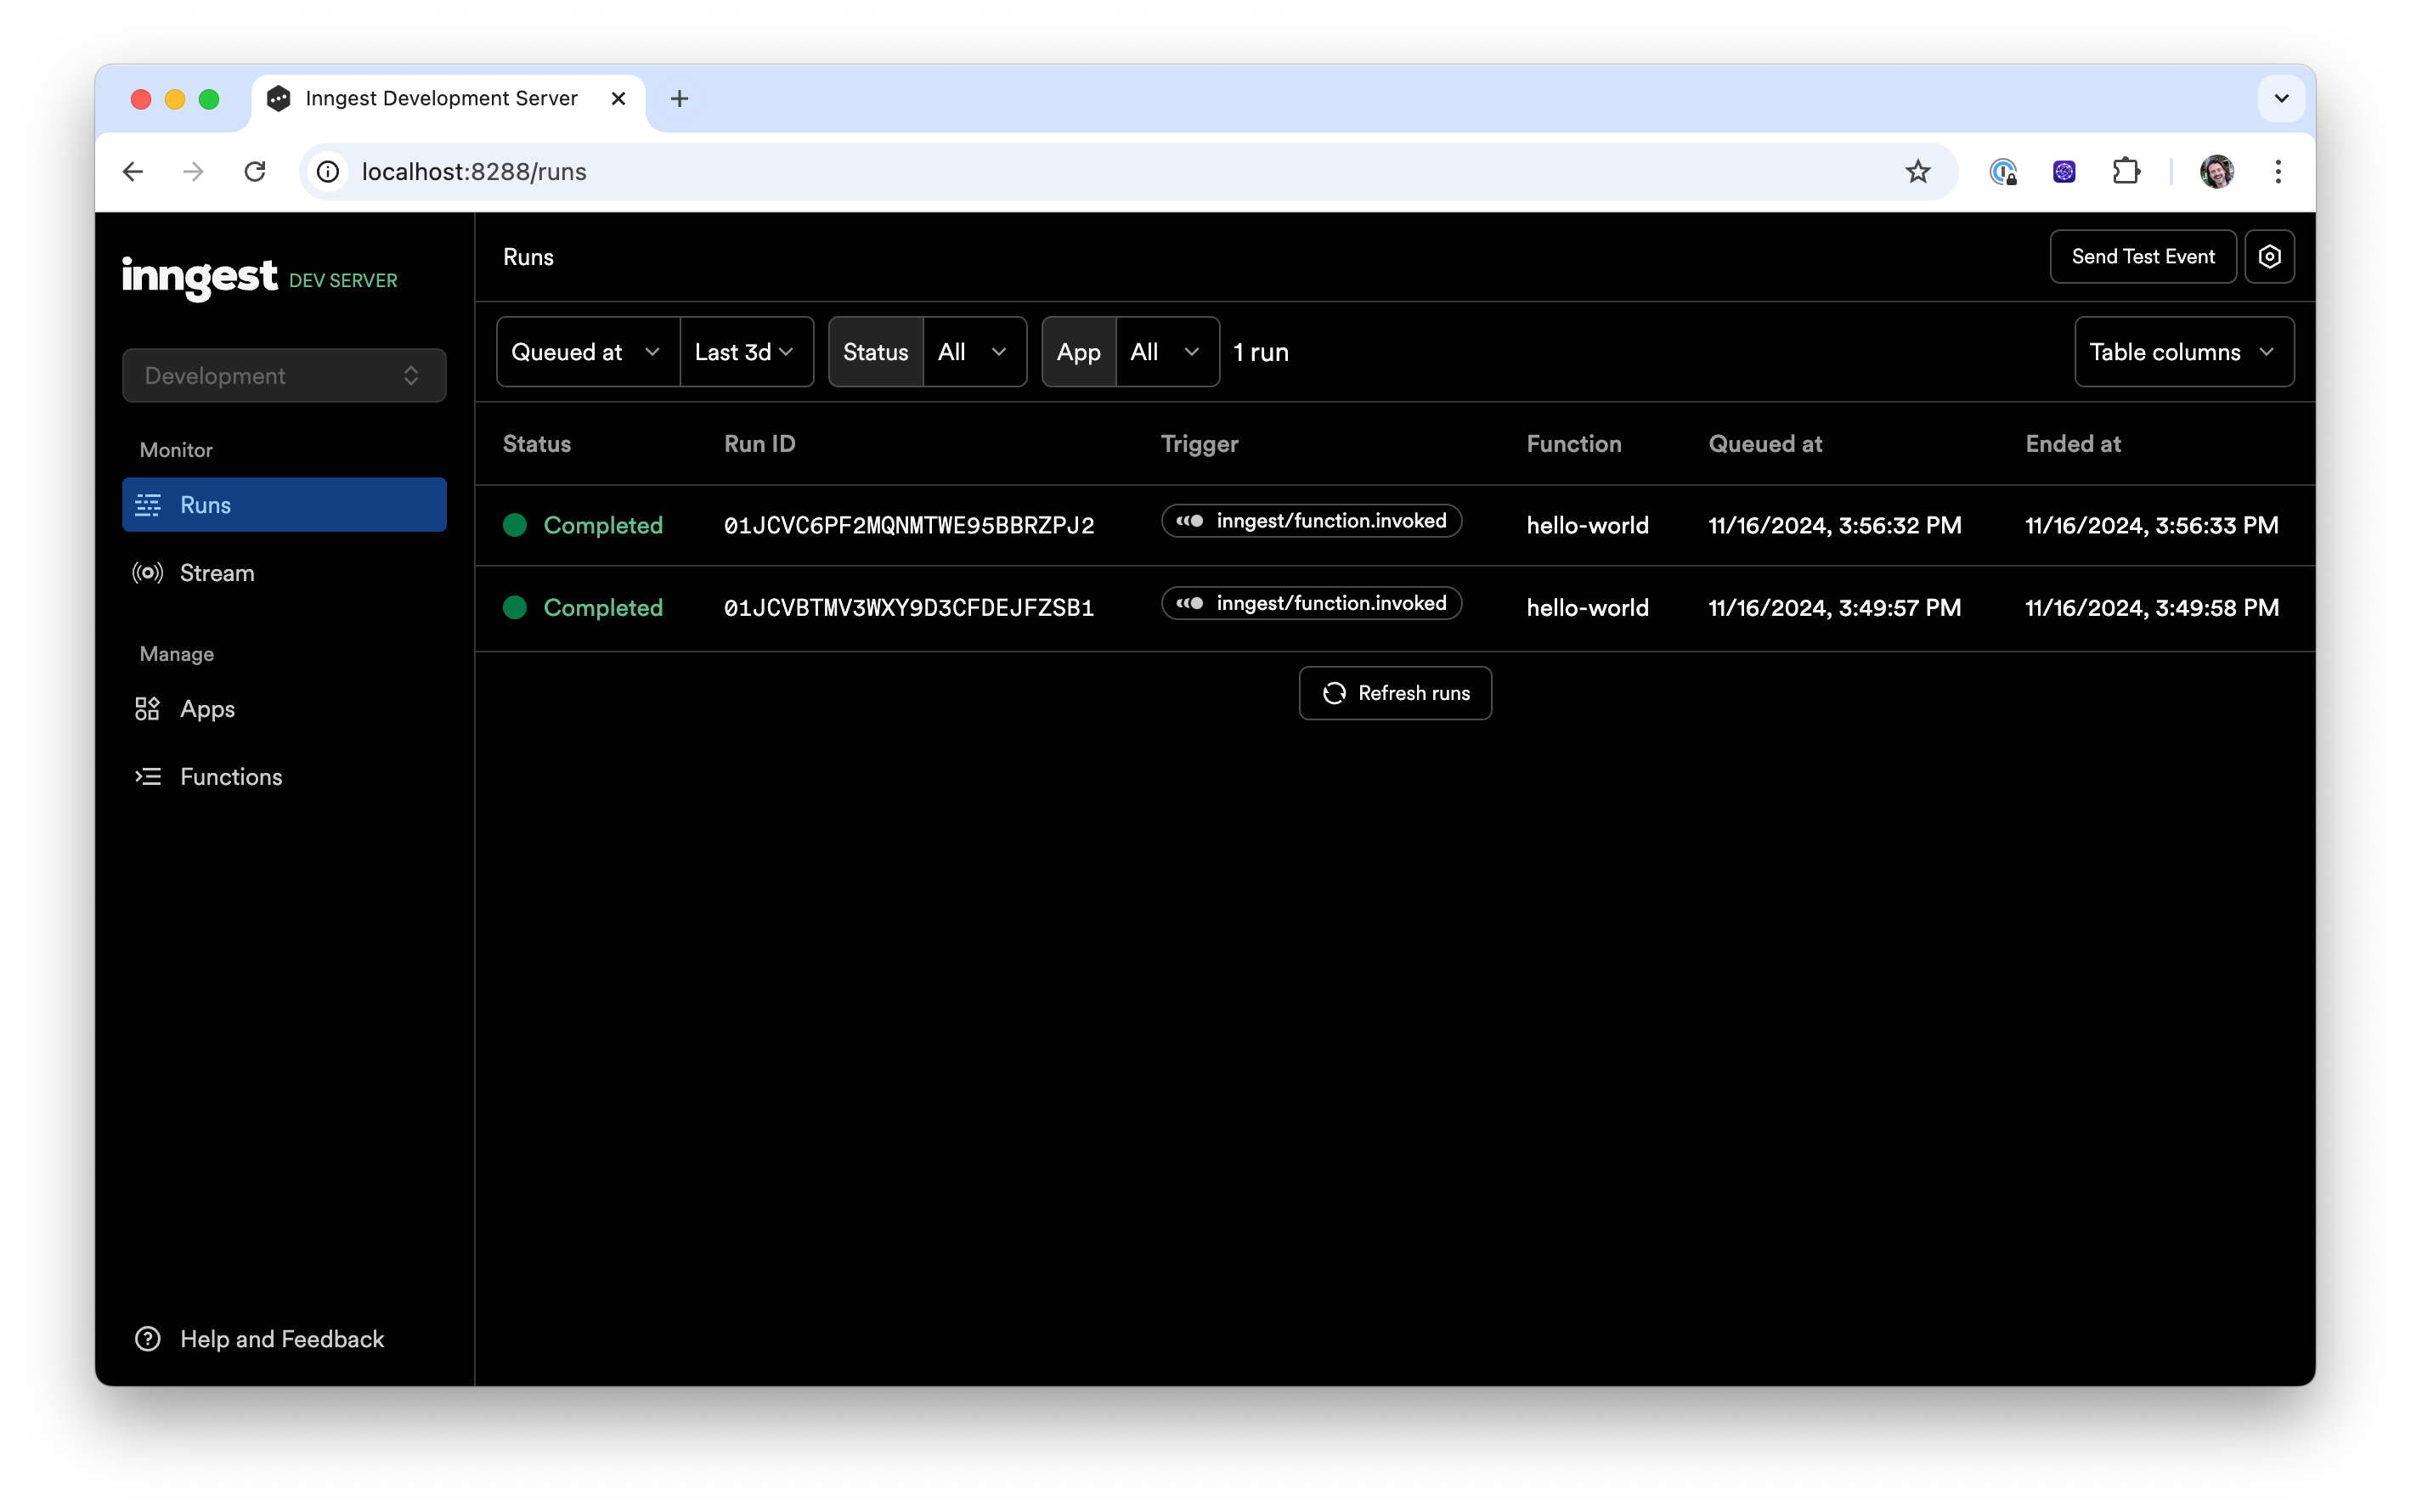
The payload is sent to Inngest (which is running locally) which automatically executes your function in the background! You can see the new function run logged in the "Runs" tab:
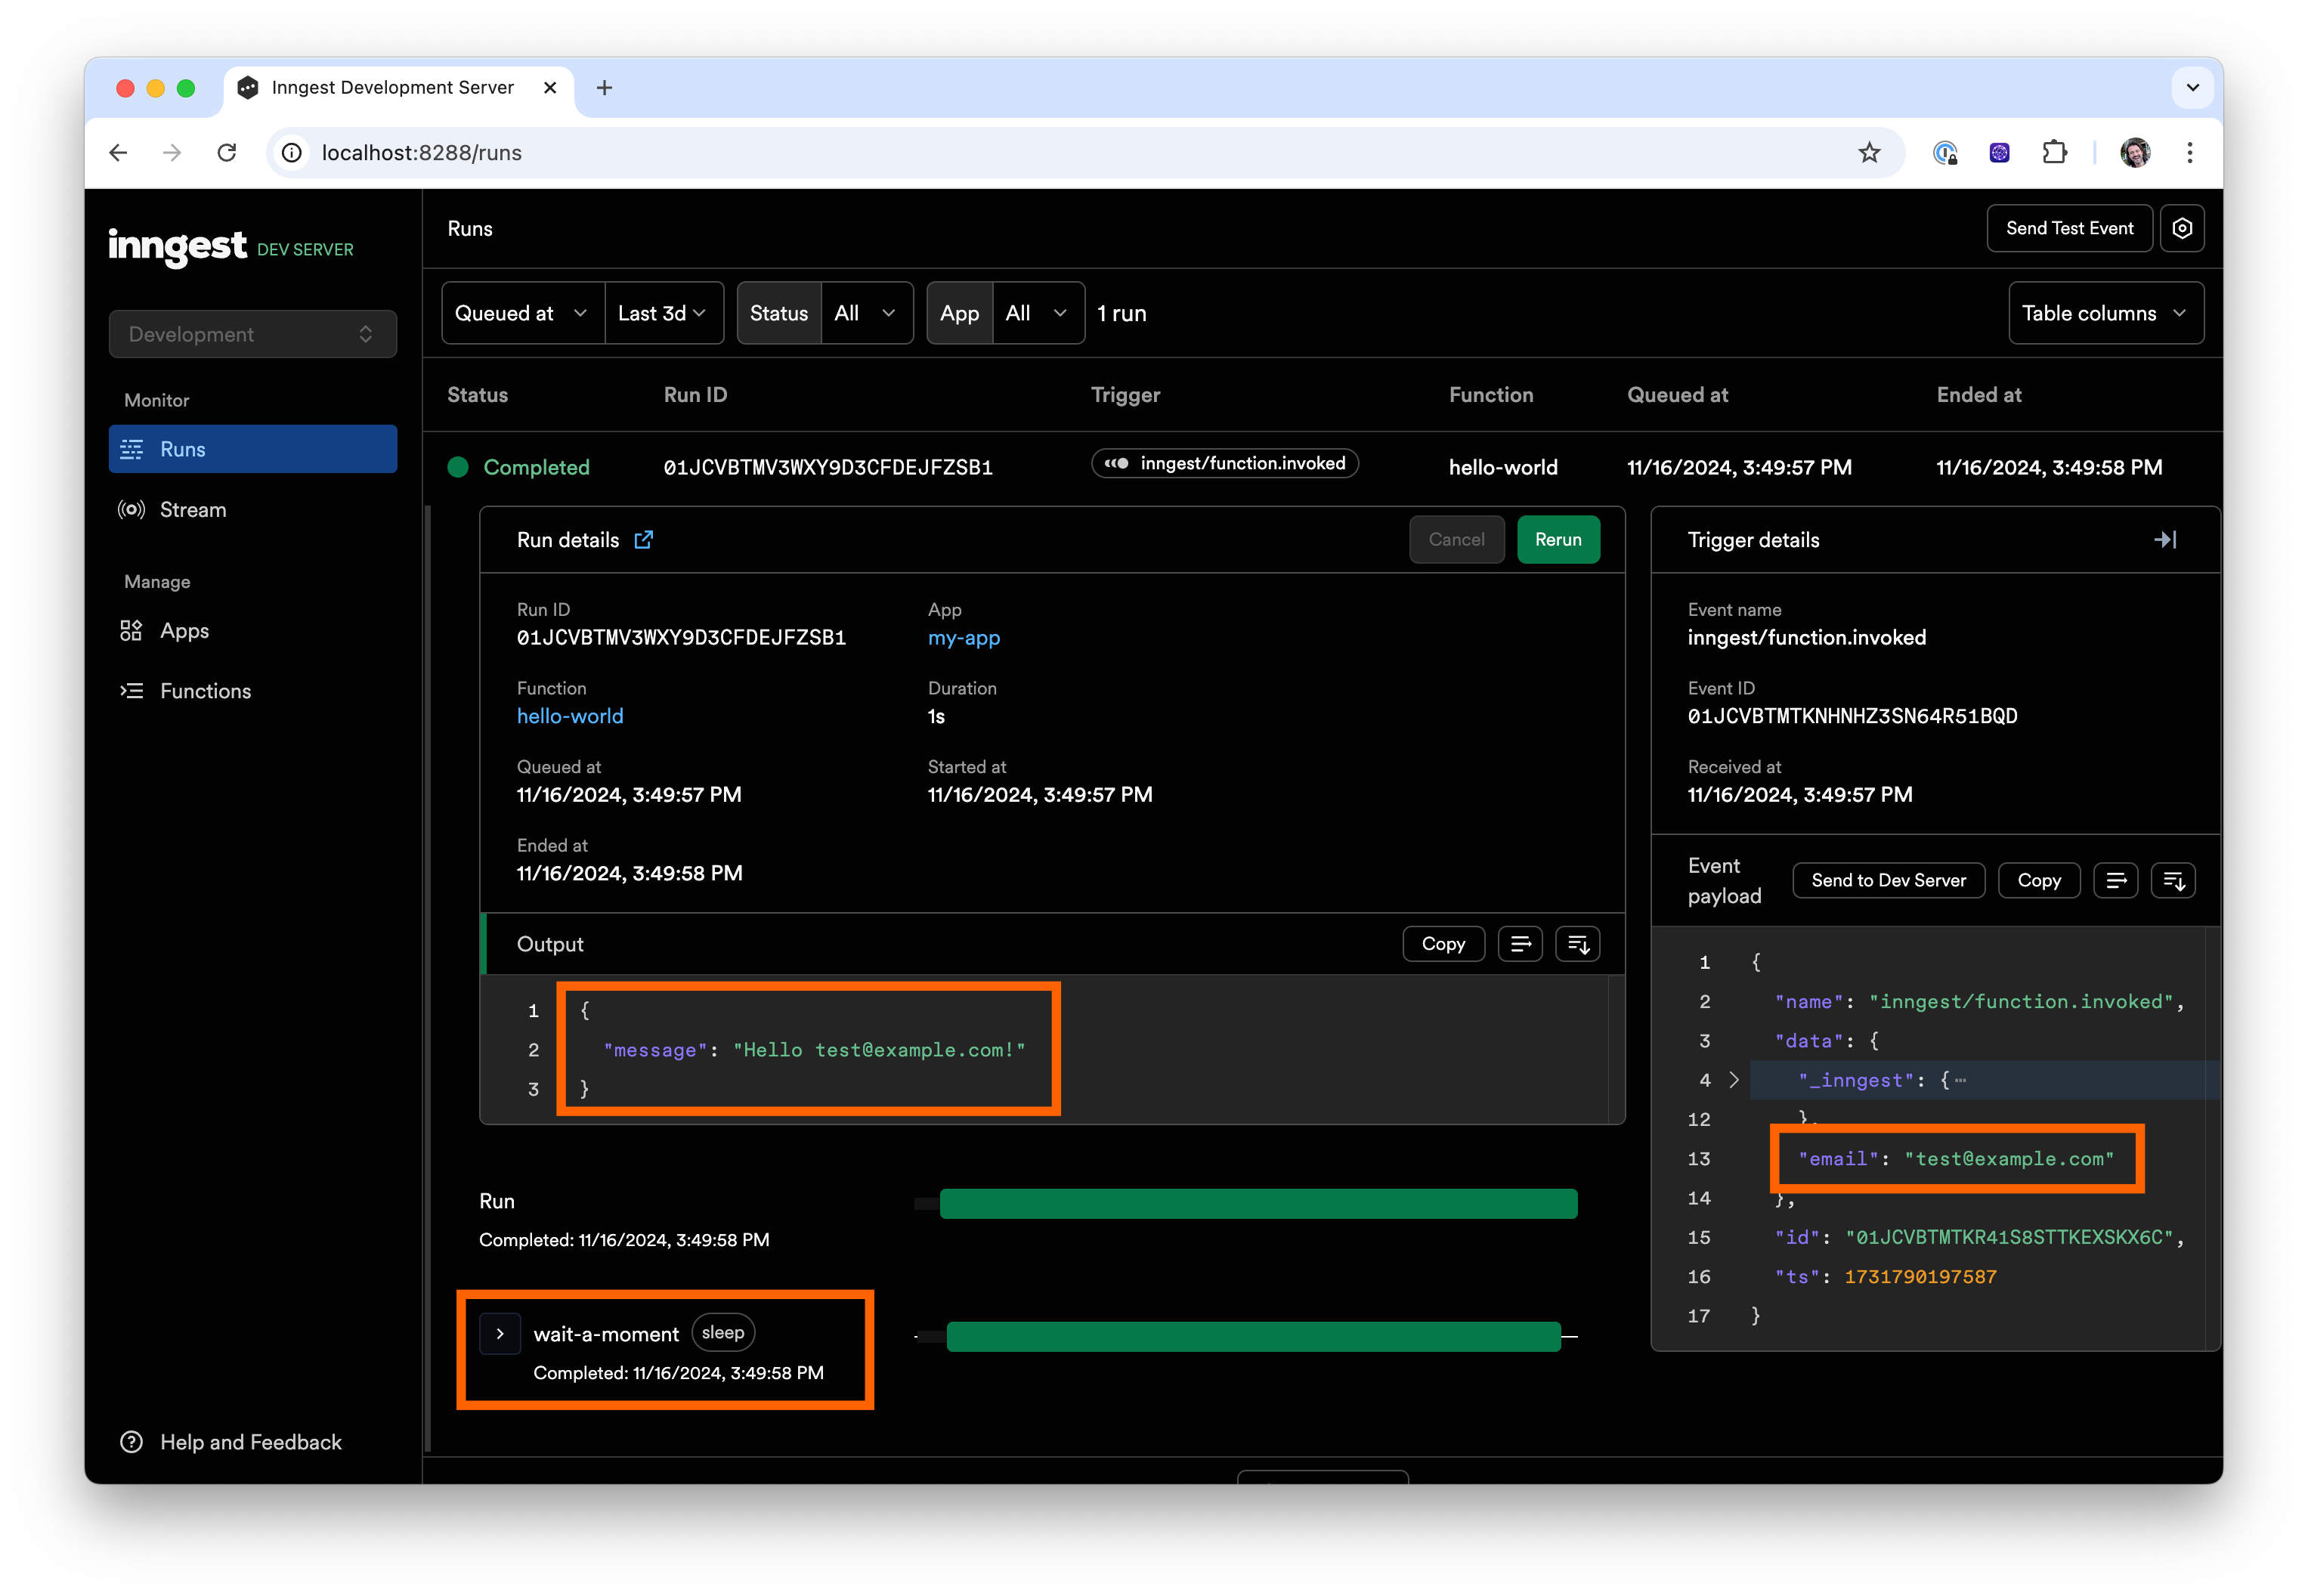
When you click on the run, you will see more information about the event, such as which function was triggered, its payload, output, and timeline:
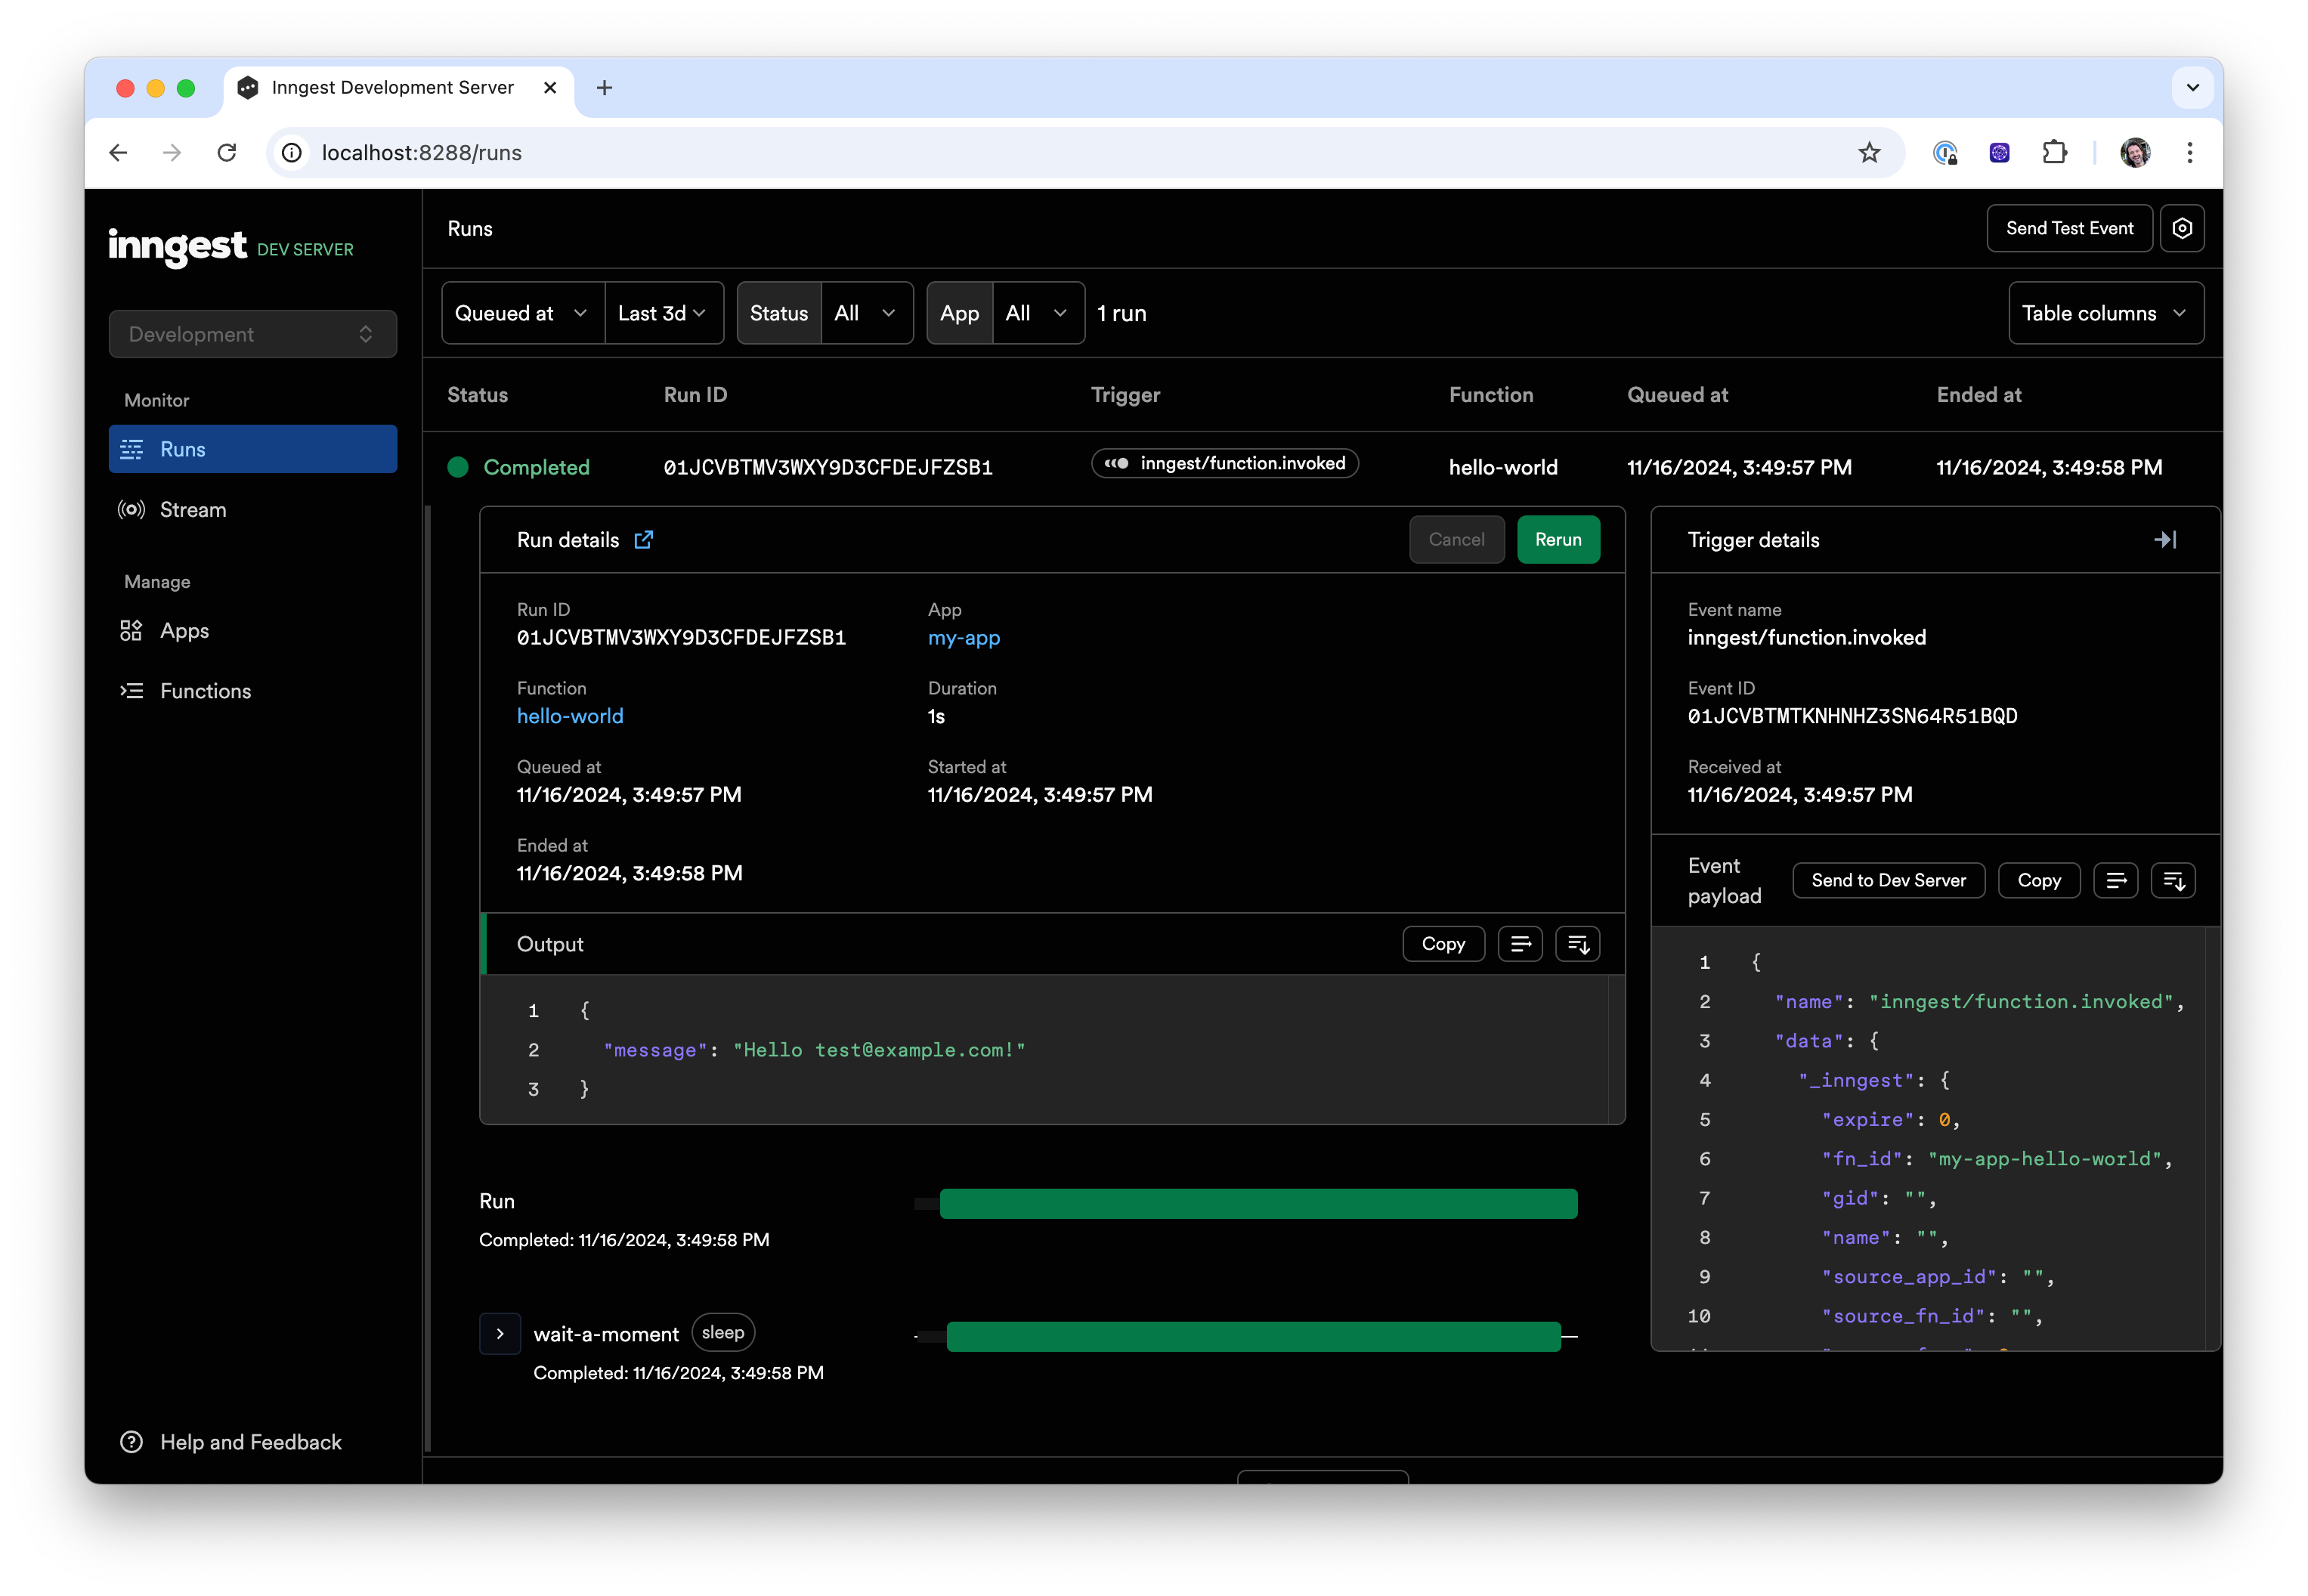
In this case, the payload triggered the hello-world function, which did sleep for a second and then returned "Hello, World!". No surprises here, that's what we expected!
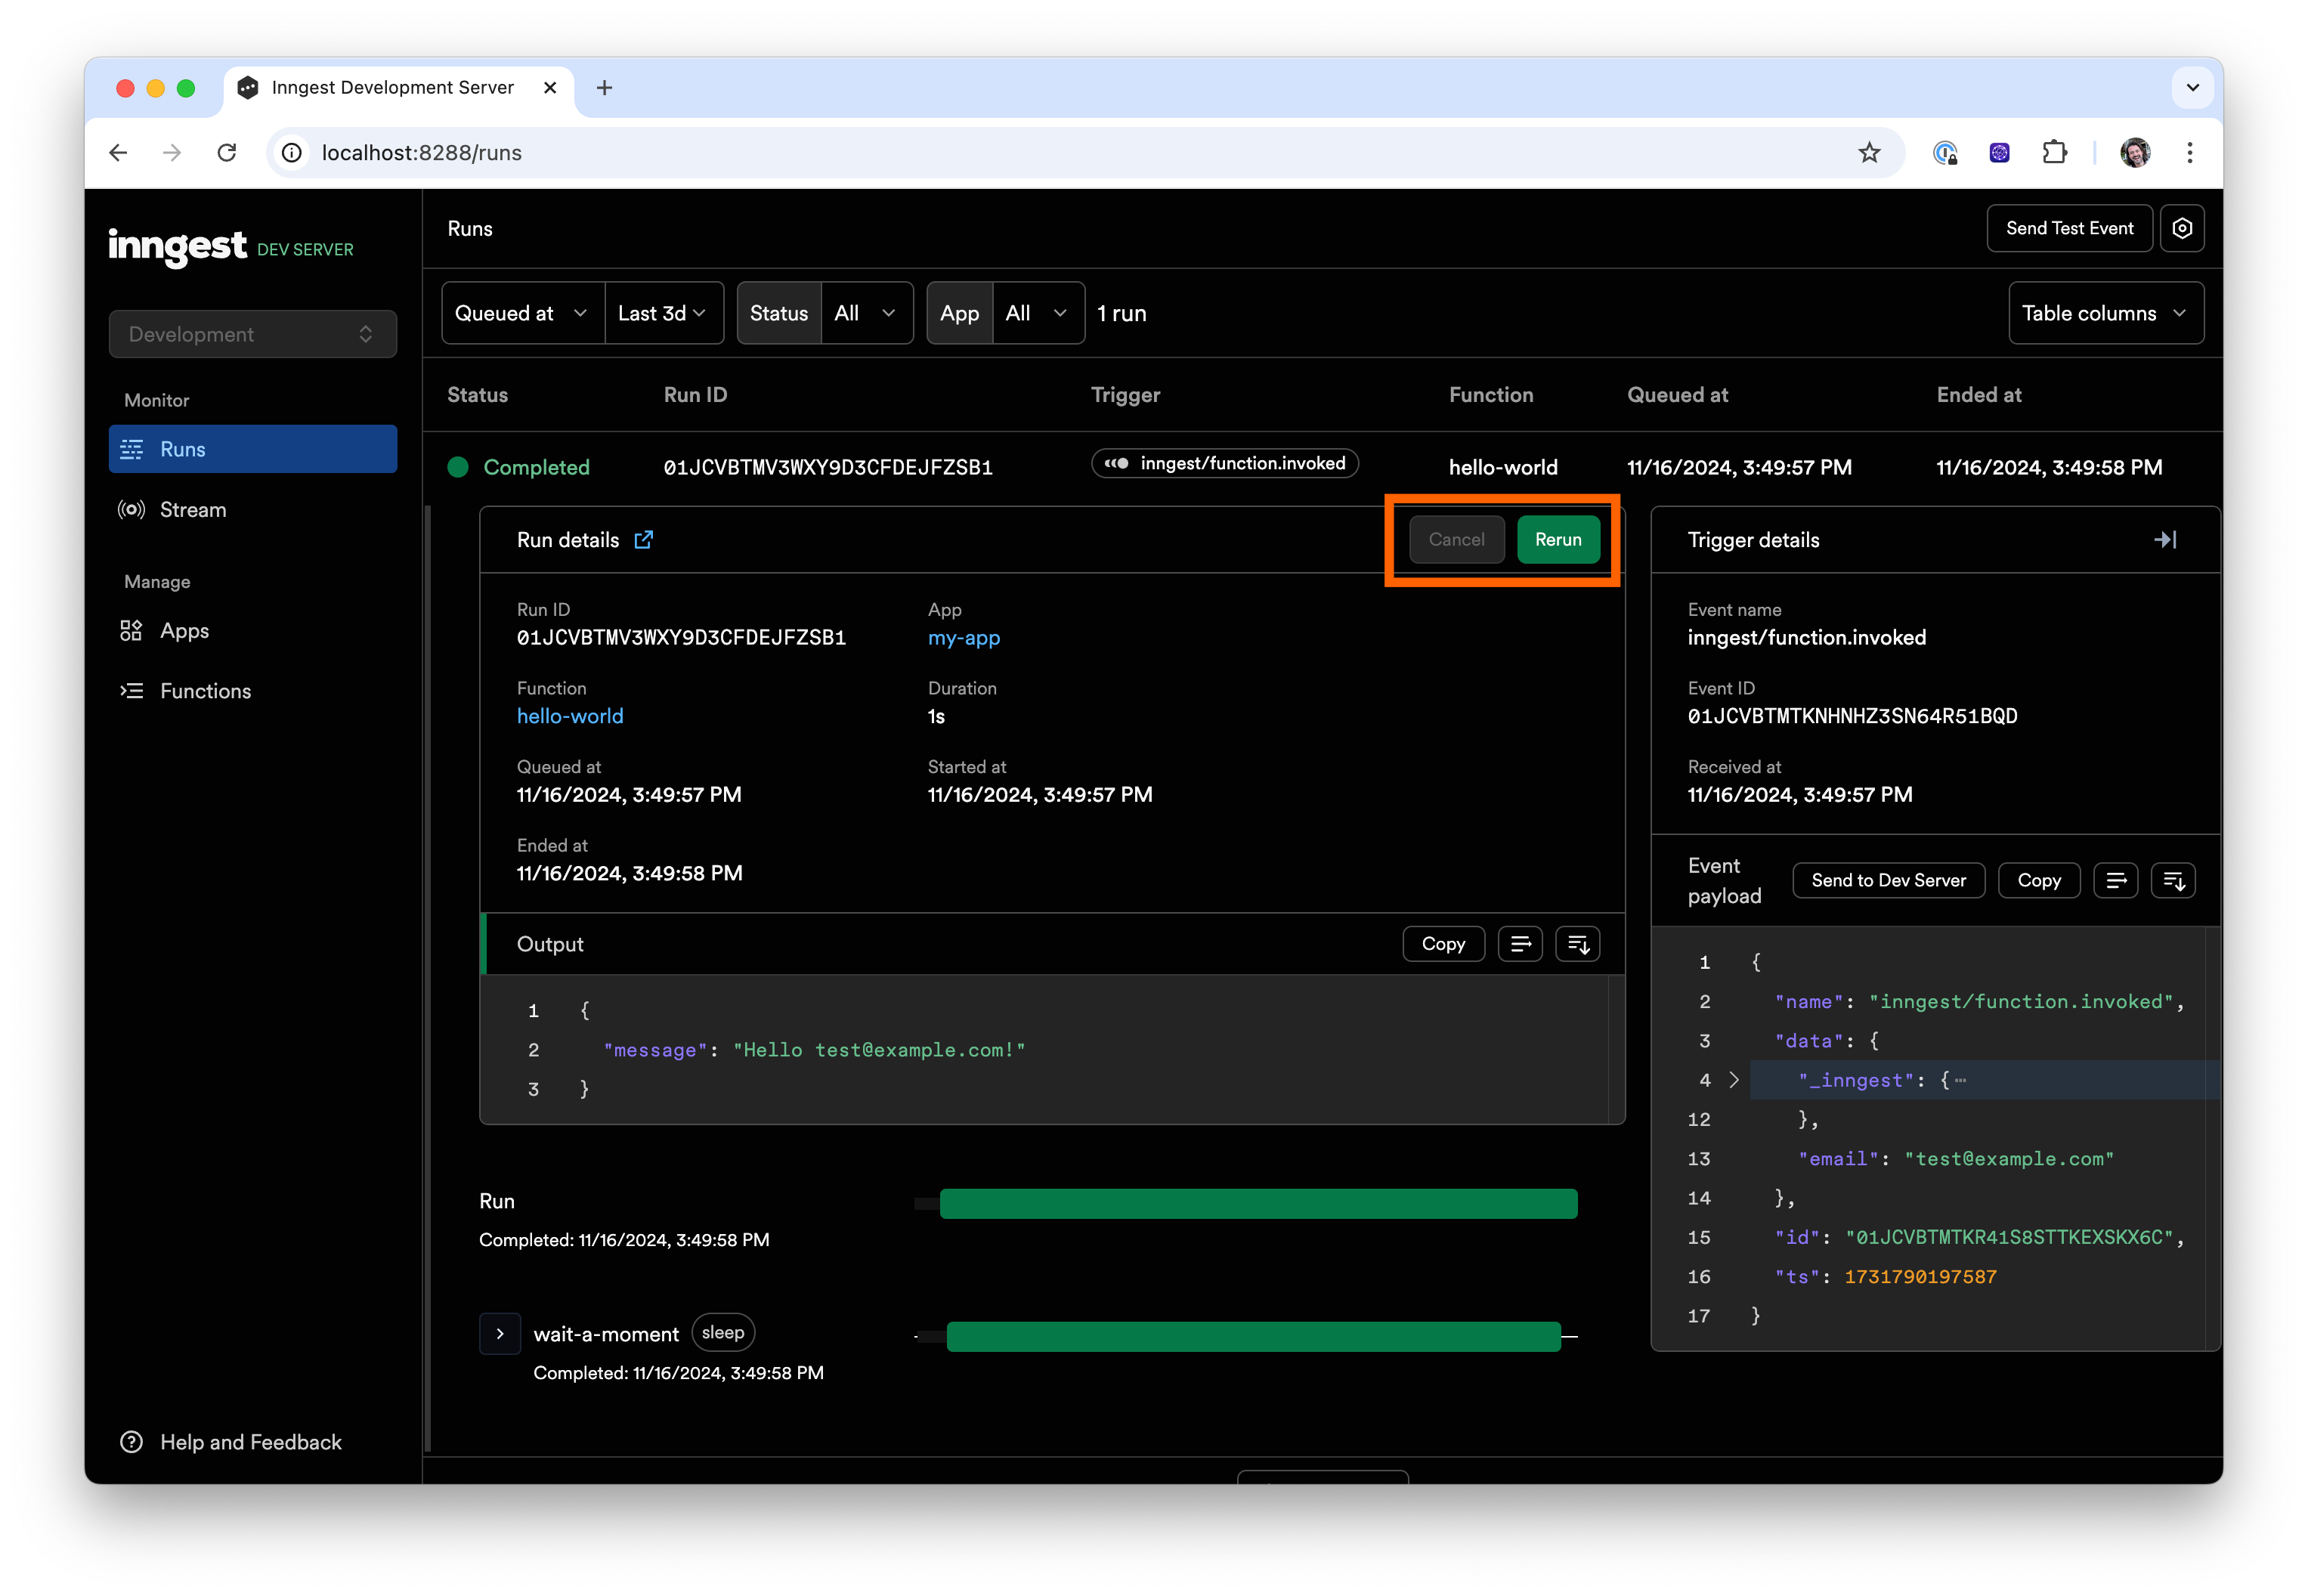
To aid in debugging your functions, you can quickly "Rerun" or "Cancel" a function. Try clicking "Rerun" at the top of the "Run details" table:
After the function was replayed, you will see two runs in the UI:
Now you will trigger an event from inside your app.
6. Trigger from code
Inngest is powered by events.
Learn more: events in Inngest.
It is worth mentioning here that an event-driven approach allows you to:
- Trigger one or multiple functions from one event, aka fan-out.
- Store received events for a historical record of what happened in your application.
- Use stored events to replay functions when there are issues in production.
- Interact with long-running functions by sending new events including waiting for input and cancelling.
To trigger Inngest functions to run in the background, you will need to send events from your application to Inngest. Once the event is received, it will automatically invoke all functions that are configured to be triggered by it.
To send an event from your code, you can use the Inngest client's send() method.
Learn more: send() method.
Note that with the send method used below you now can:
- Send one or more events within any API route.
- Include any data you need in your function within the
dataobject.
In a real-world app, you might send events from API routes that perform an action, like registering users (for example, app/user.signup) or creating something (for example, app/report.created).
You will now send an event from within your Next.js app: from the “hello” Next.js API function. To do so, create a new API handler in the src/app/api/hello/route.ts file:
src/app/api/hello/route.ts
import { NextResponse } from "next/server";
import { inngest } from "../../../inngest/client"; // Import our client
// Opt out of caching; every request should send a new event
export const dynamic = "force-dynamic";
// Create a simple async Next.js API route handler
export async function GET() {
// Send your event payload to Inngest
await inngest.send({
name: "test/hello.world",
data: {
email: "testUser@example.com",
},
});
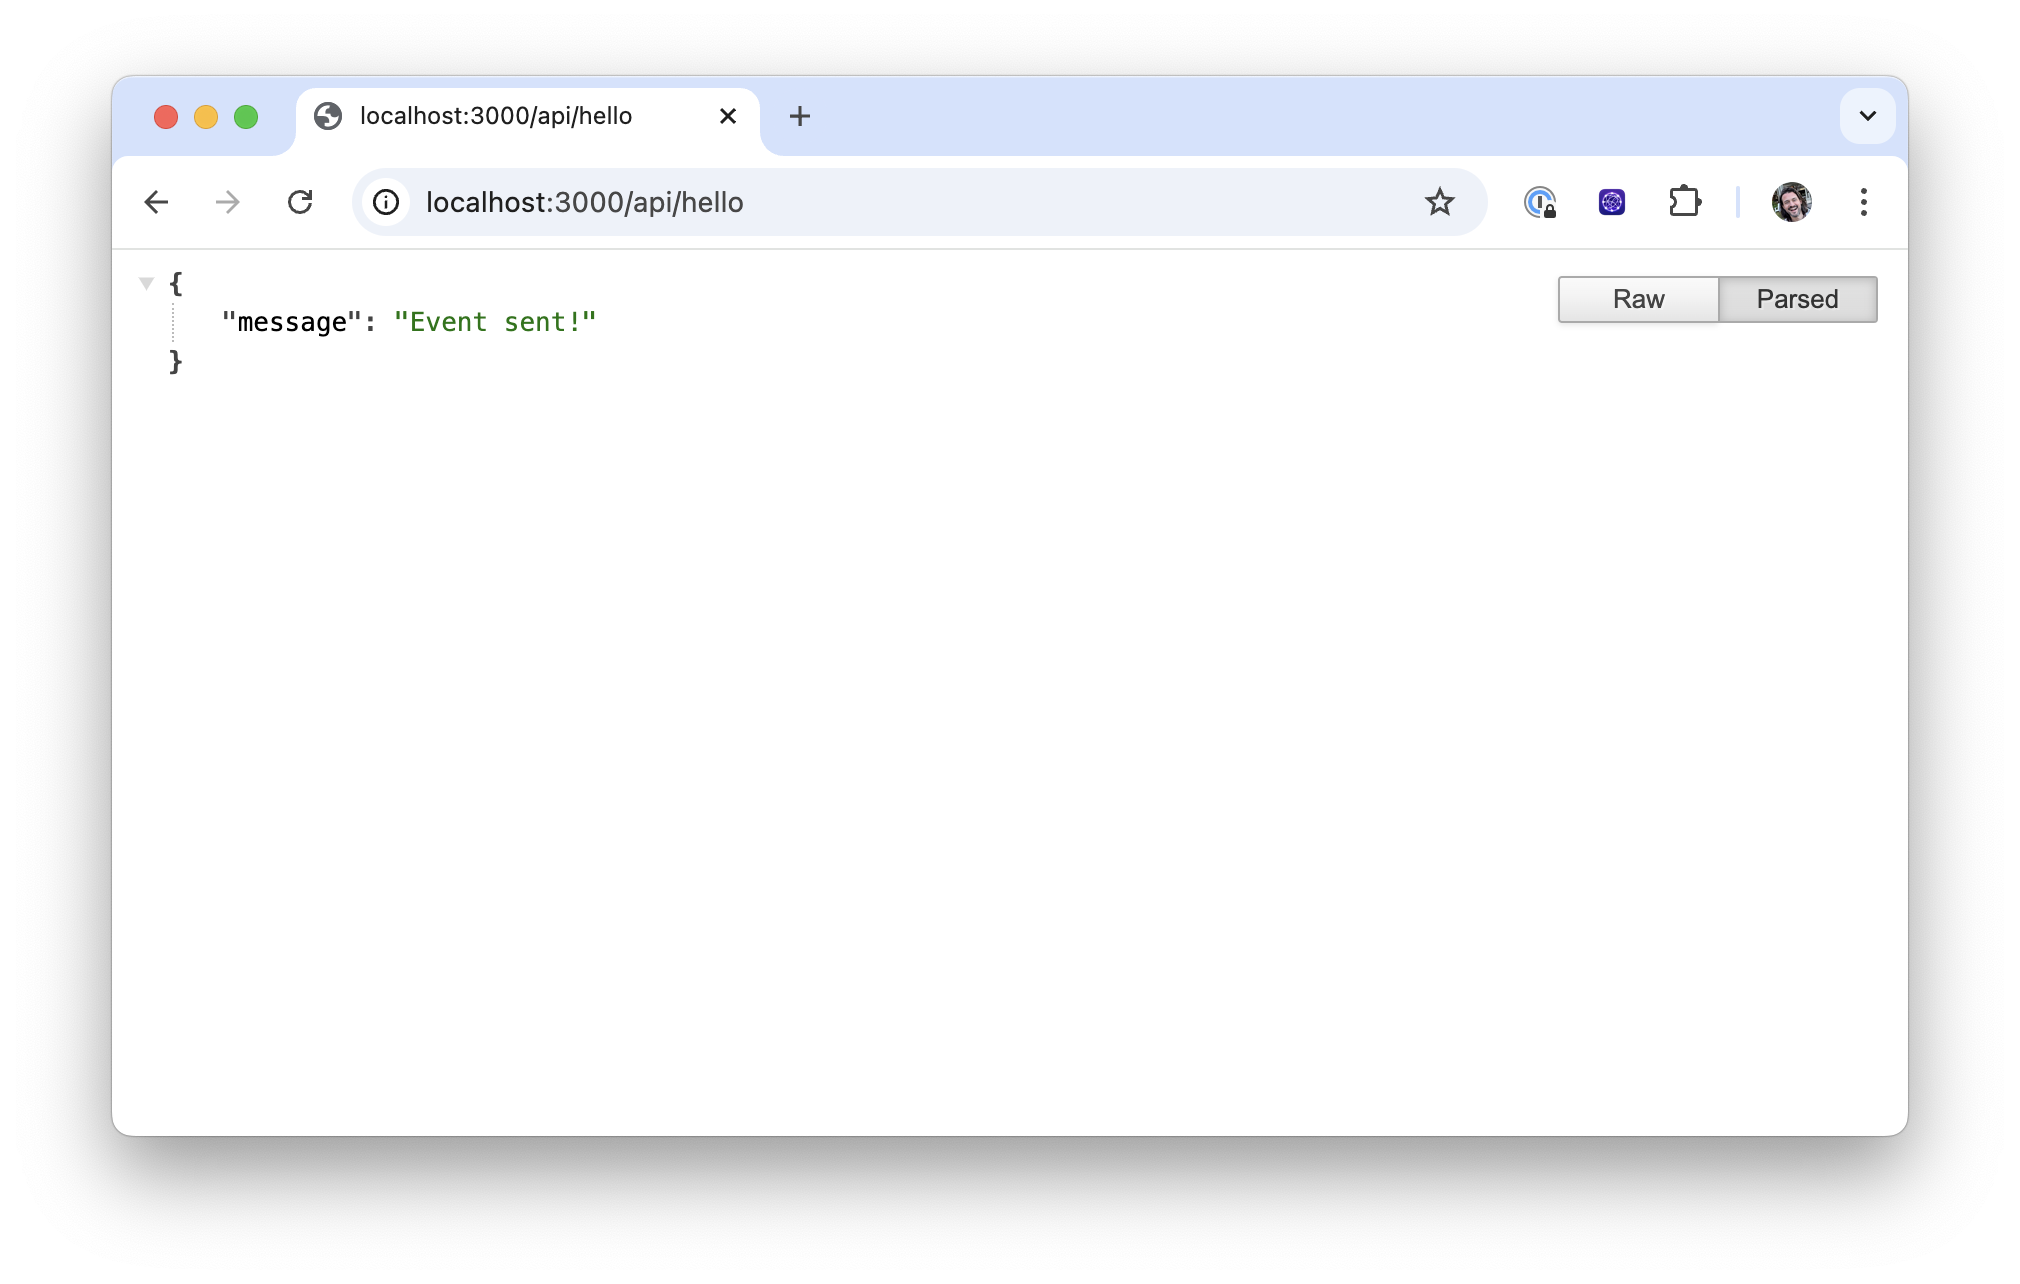
return NextResponse.json({ message: "Event sent!" });
}
👉 Note that we use "force-dynamic" to ensure we always send a new event on every request. In most situations, you'll probably want to send an event during a POST request so that you don't need this config option.
Every time this API route is requested, an event is sent to Inngest. To test it, open http://localhost:3000/api/hello (change your port if your Next.js app is running elsewhere). You should see the following output: {"message":"Event sent!"}
If you go back to the Inngest Dev Server, you will see a new run is triggered by this event:

And - that's it! You now have learned how to create Inngest functions and you have sent events to trigger those functions. Congratulations 🥳
Next Steps
To continue your exploration, feel free to check out:
- Examples of what other people built with Inngest.
- Case studies showcasing a variety of use cases.
- Our blog where we explain how Inngest works, publish guest blog posts, and share our learnings.
You can also read more:
- About Inngest functions.
- About Inngest steps.
- About Durable Execution
- How to use Inngest with other frameworks.
- How to deploy your app to your platform.