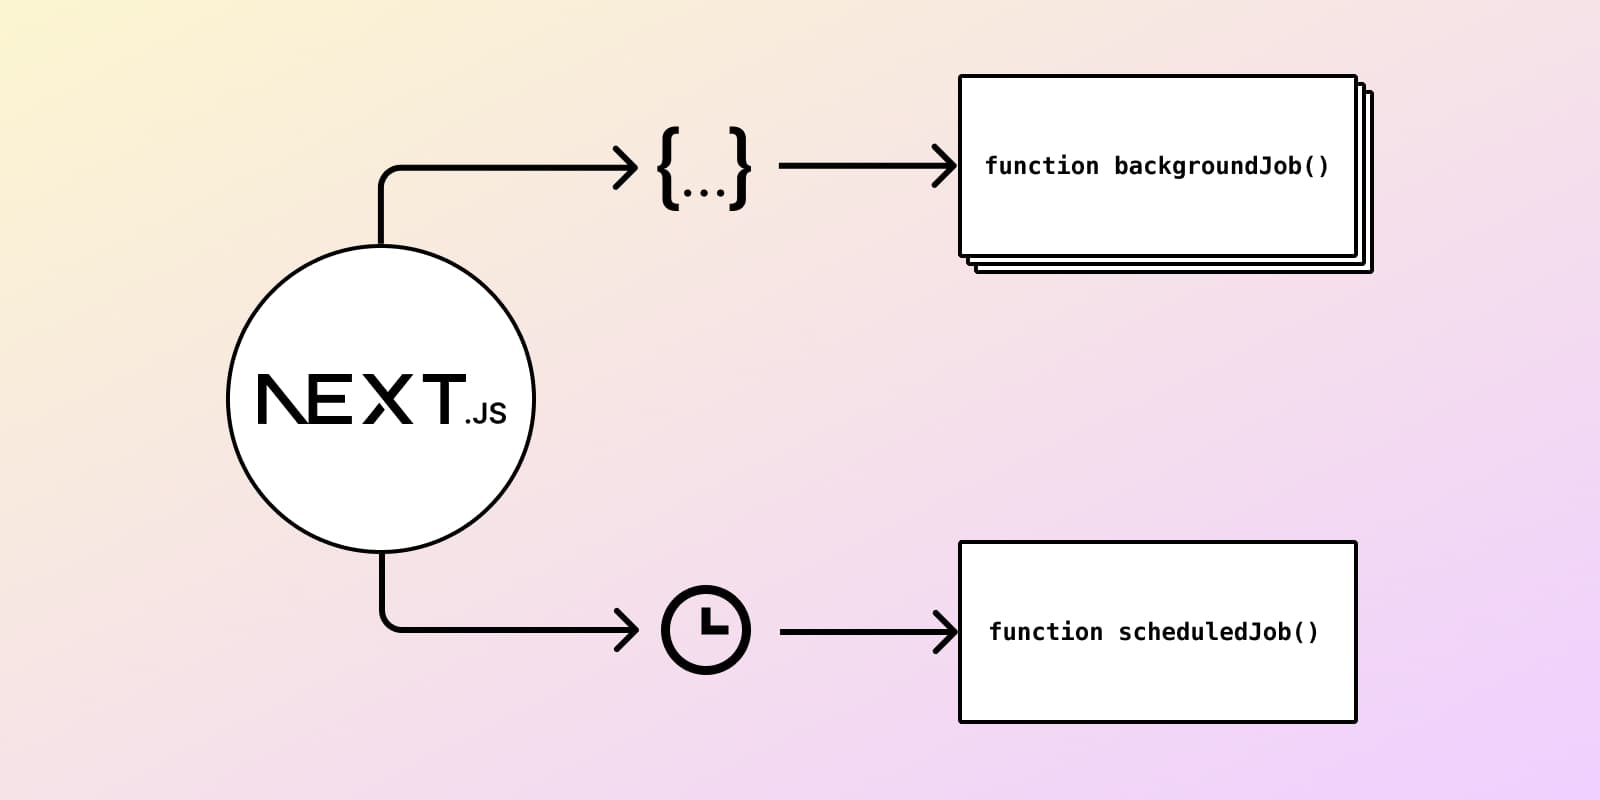
There comes a point in time when your application gets too complex to be completely comprised of synchronous API endpoints. APIs are fantastic for CRUD actions that your users are taking that need an immediate response, but there are use cases when you want to do some work in your application in the background:
- Non-critical path tasks - When your API needs to do some work that isn't truly crucial, you should move it off of the critical path of the request to ensure a timely response time for your users. Your users shouldn't have to wait longer for a response because your app needs to send an email, update a CRM or perform some data aggregation to store in your database.
- Scheduled tasks (Cron Jobs) - You need to run something periodically like send a weekly digest email to your users or do a periodic data cleanup.
To accomplish these types of things, you usually have options that require more infrastructure to be setup like message queues, pub sub, or deploying your code to another platform that does scheduling. There are two considerations for this:
- Time & Complexity: It requires building out some of your own infrastructure which is time consuming and, if you're not familiar with these architectures, you learn the issues and pitfalls and the hard way.
- Logs & Observability: You don't get logs, metrics, or traces about whats happening in the background without even more configuration of other services and instrumentation of your code.
The Inngest platform can do this for you with full observability and audit trails without having to configure new infrastructure. Let's see how we can get this done with your existing Next.js project running on Vercel or Netlify in just a couple of minutes.
Schedule functions
If you wanted to send a weekly email digest to your users, you'll want to run this once a week at a particular time. Maybe you've written the code to query your database for users, query their weekly product usage, and format a well-designed email to send them. It's a fantastic feature and user retention tool. We'll show how the code would look as a a Next.js api route and then break down what this code means and how to deploy it:
// @filename: ../../someExistingCode.tsdeclare global {var process: { env: { [key: string]: any } }}interface Results { sent: number }export const sendWeeklyDigestEmailsToAllUsers = async function() : Promise<Results> {return { sent: 100 }}// @filename: ./client.tsimport { Inngest } from "inngest";export const inngest = new Inngest({ name: "My app" });// @filename: index.ts// ---cut---import { Inngest } from "inngest";import { serve } from "inngest/next"import { sendWeeklyDigestEmailsToAllUsers } from "../../someExistingCode"const inngest = new Inngest({ name: "My app" });// Your scheduled functionconst weeklyDigest = inngest.createFunction({ name: "Send Weekly Digest" },{ cron: "0 12 * * 1" }, // At 12:00 every Mondayasync () => {const results = await sendWeeklyDigestEmailsToAllUsers();return {message: `Weekly digests sent to ${results.sent} users successfully`,}})export default serve("My App", [ weeklyDigest ]);
Let's break down what we're doing in the code above. We use the Inngest SDK (npm install inngest) to define our function and serve it. We start with defining a schedule function (aka Cron Job). This tells Inngest what to call the function, what schedule to run it on, and what code to run:
import { inngest } from "./client"// Arguments:// - Function name// - Cron-tab expression// - The async function code to runconst weeklyDigest = inngest.createFunction({ name: "Send Weekly Digest" },{ cron: "0 12 * * 1" },async () => {/* your code, anything returned will be catpured in Inngest logs */return "Hello!"})
Serving your function
One feature of Inngest is that it supports running your code on other platforms like Vercel and Netlify - no extra deployment process needed. Inngest takes care of calling your funciton on the schedule that you specify. To do this, Inngest calls your Next.js app via HTTP.
The Inngest SDK also provides a serve handler that enables Inngest to securely call your functions as required. You give your app a name and pass all of the functions that you created. In our Next.js app, we'll create a new file as /pages/api/inngest.js and set the INNGEST_SIGNING_KEY environment variable (grab one here):
import { serve } from "inngest/next"// Arguments:// - The name of your app// - Functions - An array of all of your Inngest functionsexport default serve("My App", [weeklyDigest,runDailyReport,]);
Great! You've done all the hard work already. You can always add or remove functions as your app grows. The best part is your code stays in your existing repository right alongside everything else. Go ahead and merge your code and let your platform automatically deploy your code.
Syncing with Inngest
Your scheduled functions are ready to go, but there is one last step. Inngest doesn't yet know where your app's code is running or what schedule to run it on. For your platform, you'll need to set this up:
Once that's done Inngest will be able to call your functions running on Vercel or Netlfiy as needed!
Background jobs and event-driven functions
Moving code out of the critical path of a request can give you several benefits in your API backend. If you haven't done this before, some advantages to moving some code to a background job or function:
- Decouples key logic which you can re-use
- Ensures the initial API request stays fast as possible
- Provides an audit-trail of what jobs got triggered by who and when
When you implement this pattern, your initial endpoint shoots a message off to Inngest and immediately responds, allowing you to return a response to the user. Inngest logs the message (aka event) then dispatches a request to the endpoint of your choosing and waits for the response, logging the response code and body.
The first step is choosing your event message to send to your background function. This is comprised of an event name and any relevant data about that event and the associated user. For this example, our event name will be "user.signup" and we'll pass the user's email and their role on their team captured in your signup survey. Our event will look like this:
{name: "user.signup",data: {signupReason: "some string"},user: {email: "the.user.email@example.com"}}
To start, we'll send this event in our existing /api/signup route defined in the following file. We'll use the Inngest SDK (npm install inngest) to send our event with the data captured during signup with an INNGEST_EVENT_KEY that you can create here:
import { Inngest } from "inngest";export default async function handler(req, res) {const { email, password, signupReason } = req.body;const result = await createNewUser(email, password);// Send an event over to Inngest to trigger your functionconst inngest = new Inngest({ eventKey: process.env.INNGEST_EVENT_KEY });await inngest.send({name: "user.signup",data: { signupReason },user: { email },});res.status(200).json({ success: true });}
Now, let's define the function that will be called. Similar to the above, we'll use the Inngest SDK (npm install inngest), but will import a different function createFunction to define our event-triggered function:
// @filename: ../../someExistingCode.tsdeclare global {var process: { env: { [key: string]: any } }}interface Options { template: string, to: string, data?: { [key:string]: string } }export const sendEmail = async function(options?: Options) : Promise<void> {return undefined}// @filename: index.ts// ---cut---import { inngest } from "./client"import { serve } from "inngest/next"import { sendEmail } from "../../someExistingCode"// Define your functionconst welcomeEmail = inngest.createFunction({ name: "Send Welcome Email" },{ event: "user.signup" },async ({ event }) => {if (!event.user?.email) {throw new Error("Event payload missing email")}await sendEmail({template: "welcome-email",to: event.user.email,data: {// The template will use this to show useful content to our new usersignupReason: event.data?.signupReason,},});return `Successfully sent`})// This is the same as above, you can pass as many functions are you want in the array:// Grab your key here: https://app.inngest.com/env/production/manage/signing-keyexport default serve("My App", [ welcomeEmail ]);
Bonus: Inngest SDK's has first-class TypeScript support - click to learn more
If you read the above section on scheduled functions, you'll see lots of similarities! createFunction accepts 3 arguments with the second argument being the event name and the final function argument gets the event payload as an argument:
import { createFunction } from "inngest"// Arguments:// - Function name// - Event name// - The function code to run - the `event` arg is the payloadconst welcomeEmail = inngest.createFunction({ name: "Send Welcome Email" },{ event: "user.signup" },/* The `event` arg contains the entire data object that you sent above */async ({ event }) => {/* your code, anything returned will be captured in Inngest logs */return `Hello ${event.name}!` // = "Hello user.signup!"})
That's how simple it is to define a background job - whenever the "user.signup" event is sent from your app, Inngest will asynchronously call your next function with that data. Remember to add the proper environment variables (INNGEST_SIGNING_KEY, INNGEST_EVENT_KEY) to your project first 😉.
Viewing event and function history
When you deploy either a scheduled function or a background job, you'll get full history of the event messages that your app has sent and the responses that your background function has sent.
Now go ship something!
Congrats! You now know how you can easily move key logic in your app to be asynchronous and out of the critical path of a request. Background jobs are important for any scaling and performant application that you have so we think this will really help you grow your amazing products.


